To edit a user, from the User List, click the name of a User to open up the user card.
Alternatively, once you've created a user and saved for the first time, you'll have more options available to edit the user.
From the user card, you can make any amendments to any basic user information as necessary, e.g. editing email address, phone number, or any Custom Fields. See Create a User for more information on these.

You can also reset a user's password from here, set up Multi-factor Authentication (MFA), and resend their user invite, if the user was set up using the Invite Users feature.
User tabs

Settings
Hourly Cost Rate / Overhead Rate / Labour Tracking Centre - see Create a User.
Assign a business unit
This is the primary Business Unit that the user will be associated with.
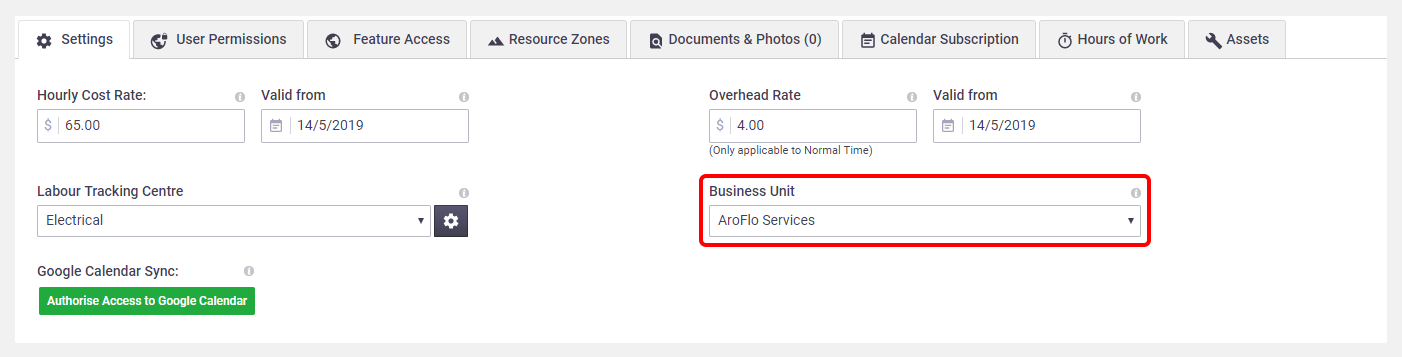
Refer to Business Units for further information on managing your Business Units
Sync AroFlo calendar with Google
 Allow AroFlo to post schedules for this user to their Google Calendar. This allows users to receive notifications of scheduled work via their mobile phone's calendar.
For information on setting up this link, see Google Calendar Sync.
User Permissions
Edit the user's Permission Group. See Add User to a Permission Group for more info.
Feature Access
Edit the user's access to certain information (e.g. pricing details), and for configuring what a user will see in AroFlo. See Feature Access Settings for more info.
Resource Zones
If you've set up resource zones to help with scheduling resources to particular geographic areas, you can use the Resource Zones tab to assign a user to the appropriate resource zones.

Documents and Photos
The documents and photos functionality is only available if you have Document Storage enabled for your AroFlo subscription.
To find out more or to activate this feature, contact AroFlo Customer Support or submit a support request.
Documents and photos specific to the user can be uploaded for reference. This could include a photo, bio or certifications. You could add user photos to layouts (such as a final invoice) so your clients can see who did certain work or who is going to show up at their door. An example can be found in Add Images to Layout.
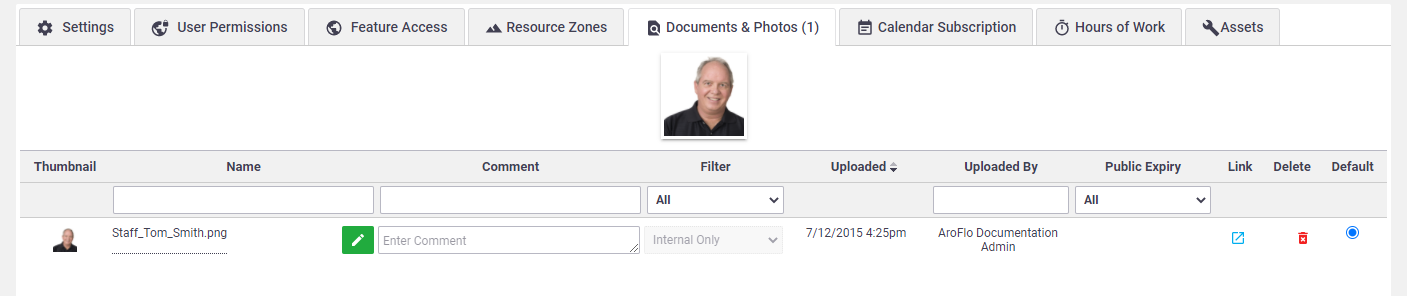
See Upload Documents and Photos for a guide to uploading documents and photos to a user card.
User photos in Calendar
| User photos will display by default on the Aroflo calendar. | 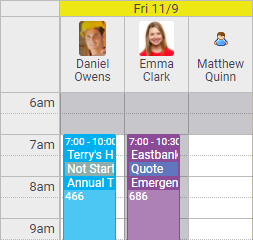 |
|
| If you don't want user photos in the calendar, go to the Calendar Settings and select Show Resource Name Only. | 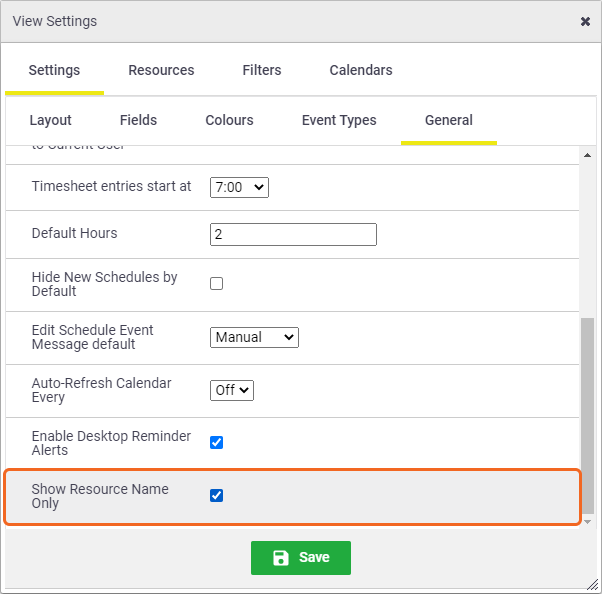 |
|
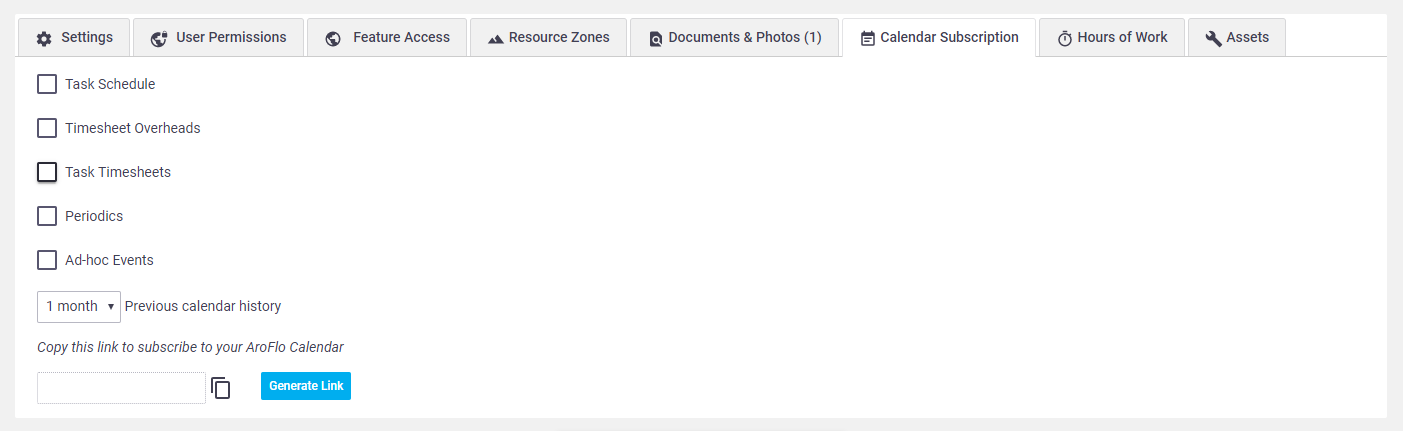
Calendar Subscription
This allows you to generate a link a user can use to subscribe their AroFlo calendar to an external calendar. Using the checkboxes, you can limit how much information is sent from AroFlo to the external calendar. Refer to Subscribe Calendar to a Third Party Program for more instructions.
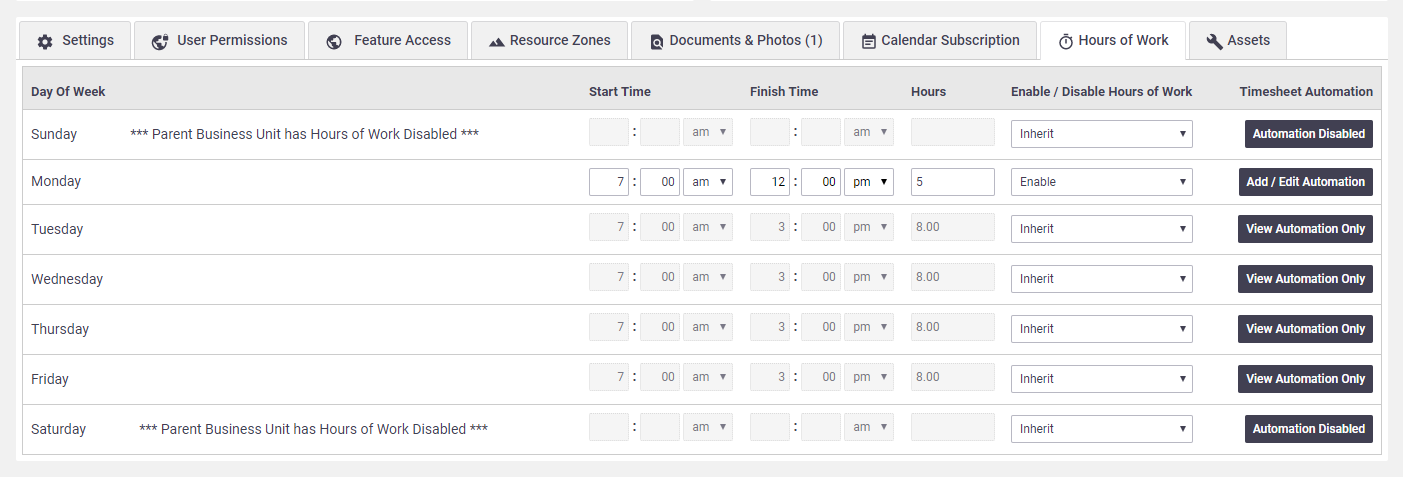
Hours of Work
This tab enables you to override the working hours that have been set for the business unit (if any). If you have someone who needs to work different hours to everyone else, you can manage that easily by changing the defaults that appear in this tab. In the example below, the staff member has 'inherited' the working hours of the business unit, but has different hours set for the Monday. See Customise a User's Hours for detailed instructions.
Assets
This allows you to add assets that this user is responsible for, including GPS-tracked assets that you want to be visible on the Map. You can also view previously linked assets.

Refer to Edit a User in AroFlo Office for more information.
Tips for updating User access
In some cases, you may need to amend a user's access to particular features. See the tabs below for some scenarios.
Access to Site Administration
Access to Site Adminstration is controlled via a tickbox in the Feature Access tab. See Feature Access Settings - Site Administrator Access
Access to Accounting Integration
Access to Accounting Integration is controlled via Permission Group settings. By default, users in the Management permission group will have access to Accounting Integration. To give users in a different permission group (e.g. Supervisor) access to Accounting Integration, you need to create a custom permission group. Alternatively, to update access, either modify the permissions of the custom permission group, or simply switch the user to a pre-built permission group.

Billing Portal Access
Access to the Billing Portal is not controlled on a User card, but via the Billing Portal itself. See Billing Portal for information on granting or removing access.
Manually end an active user session
Users with the pre-built Management permission group can manually log a user out of AroFlo.
- In Site Administration, click Users.
- In the End Active Sessions column, check the box for the user whose session you need to end.
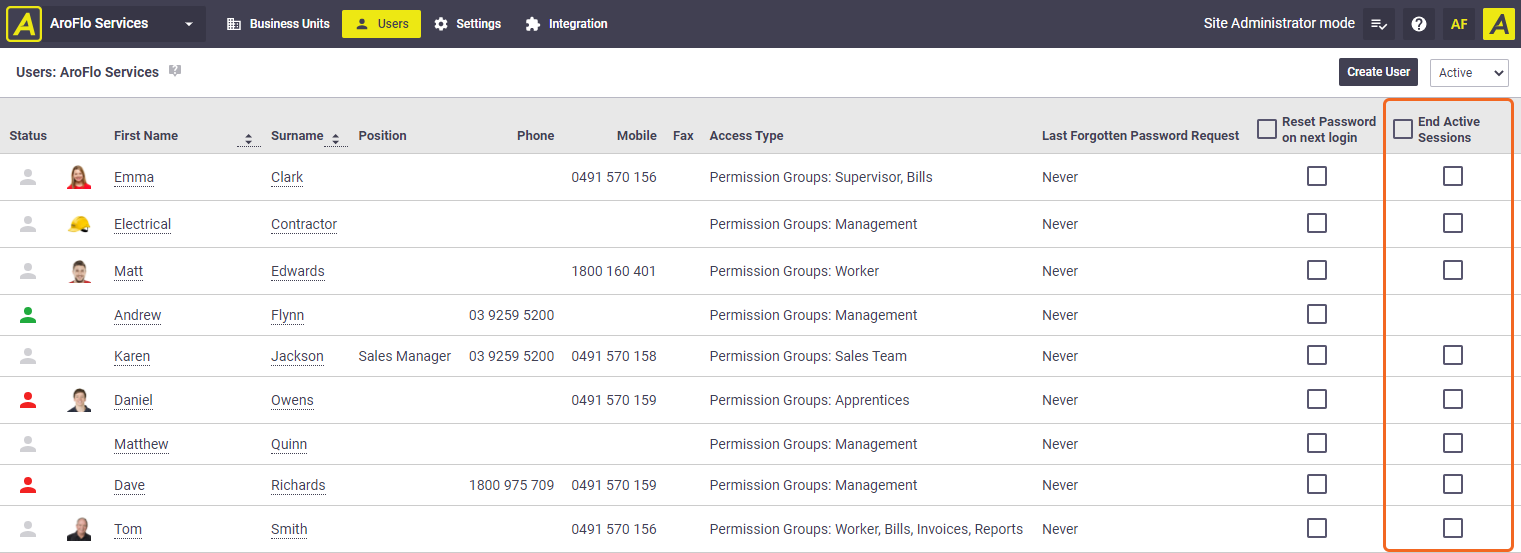
- Click Save > End Selected Sessions. The user's session will be ended within 60 seconds.
- When you manually end an active user session, any work the user had not saved will be lost.
- The 'End Active Sessions' feature is only available to those using permission groups; it is not available to those using legacy permissions.
- You can also manually end an active session for a user with client or contractor access who has access to your AroFlo site.
- Archiving a user or contact will automatically end their session.
The user list also includes a status indicator:
 represents that user was online in the last 5 minutes
 represents that user was online in the last 15 minutes
 represents that user has not been online recently (see times above)