If you want something other than the standard AroFlo layouts, you can create a custom layout. You can base your custom layout on one of the standard layouts, or start from scratch.
Select a layout
Go to the relevant area of the system to generate a layout, e.g. from a Task, Quote, Invoice, Purchase Order.
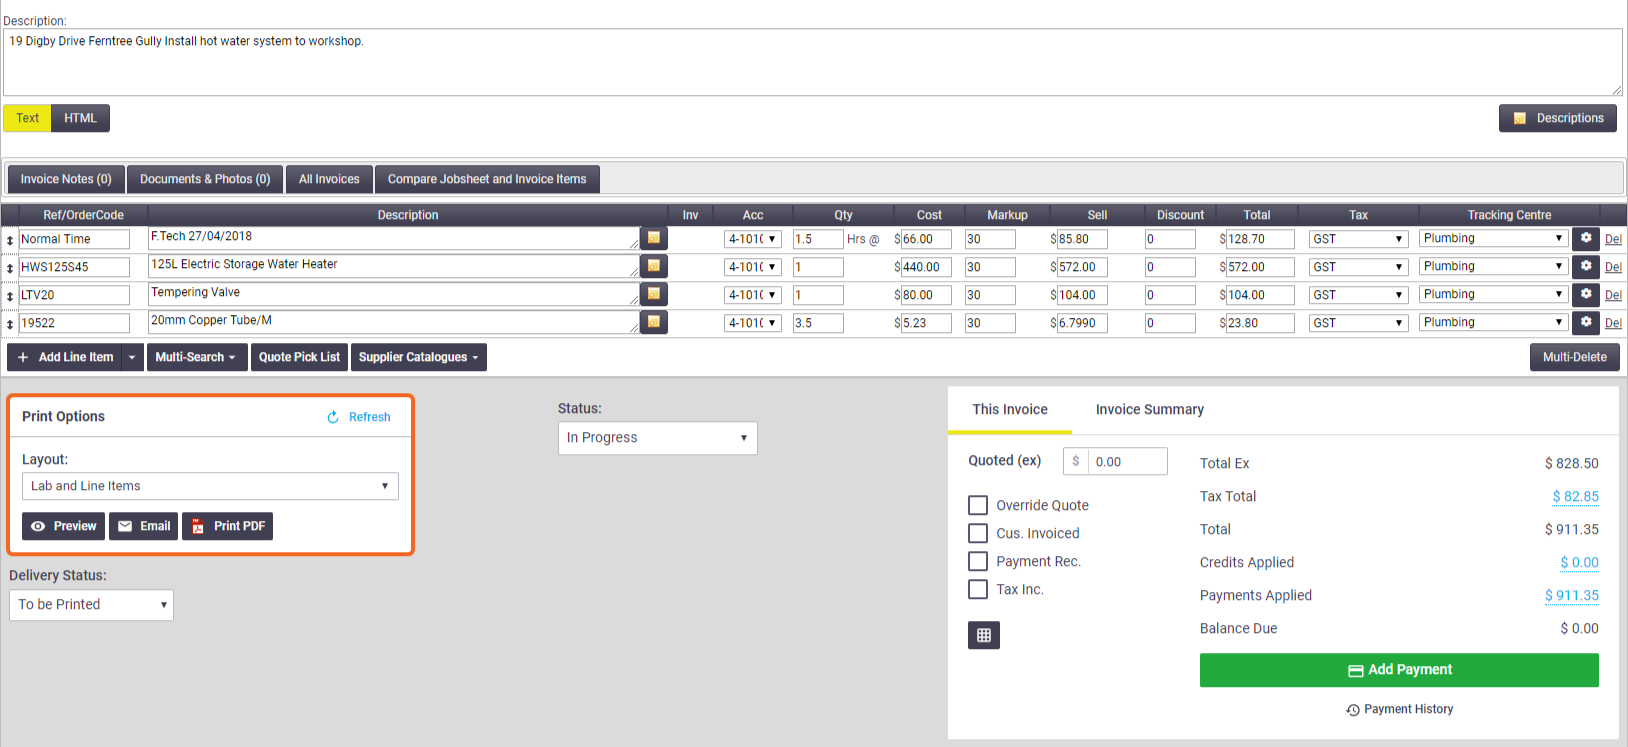
- Scroll down to the Print Options (bottom of screen).
- Select the standard layout that you would like to customize.
- Click Preview.

The available standard layouts are dependent on the area of AroFlo you're in, e.g. Invoice, Quote, Task. See AroFlo Standard Layouts for a description of each standard layout and the fields that are included.
Create a copy
Once you have chosen a standard layout, you will need to save it with a new name before making any modifications:
1. Click Edit
Click Edit to edit the selected layout

2. Name and Save your new layout
 |
Give your layout an appropriate name by typing into the Save As… field and Save. This will create an exact duplicate of the selected layout which you can now edit. |
| Give your layout an appropriate name by typing into the Save As… field and Save. This will create an exact duplicate of the selected layout which you can now edit. |
3. New layout is saved
You'll now be editing your newly-created custom layout.
All of your saved custom layouts will be listed under the Custom Layouts section.

Return to Custom Layouts for more information on customising layouts