Geo zone scheduling is a fast and efficient way to schedule your resources and subcontractors based on the area or zone that you have assigned them to work in. AroFlo lets you assign or schedule jobs by postcode, suburb or a geographic zone.
- Define zones by suburb, postcode, or simply by drawing directly on a map using geo-fencing.
- Assign technicians, subcontractors and area managers to one zone, multiple zones, or all zones.
- Include zones when scheduling tasks in the calendar to ensure the right resource is selected for the job.
Setting up zones and assigning resources are administration functions that require access to Site Administration. Please contact your Site Administrator for assistance.
The following instructions explain how to set use Geo Zone Scheduling. For information on how to set up resource zones, see Resource Zones.
Assign resources
|
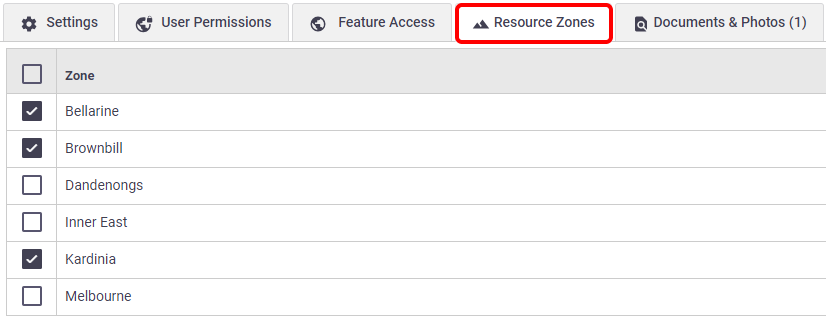
Resources (users) can be assigned once your Resource Zones have been added in Site Administration.
|
 |
 |
Include zones in the calendar
|
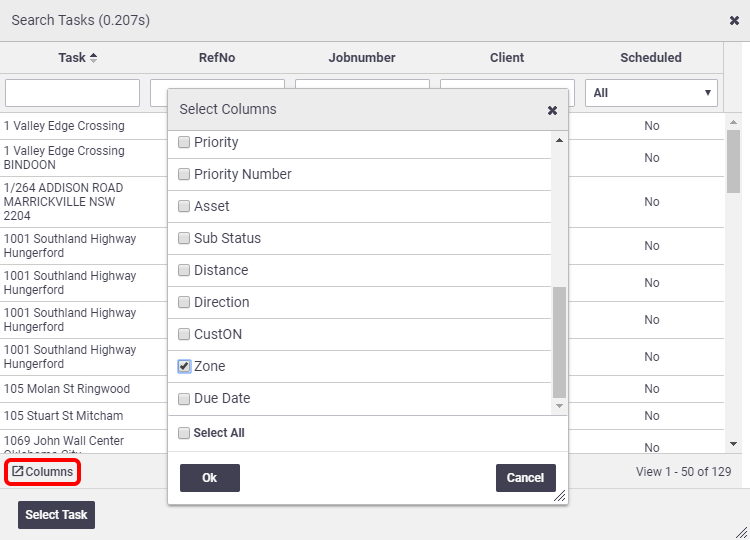
In order to use zones for scheduling, you will need to add zones to the 'Search Tasks' view within your calendar.
|
 |
 |
Calendar scheduling using resource zones
|
Now you have added your resource zones and added the option to filter these using your search tasks panel in calendar.
|
 |
 |
Assets and Contractors
You can also use the above logic for Assets and Contractors displayed on your calendar. For Assets, the resource zones are set on the asset card, and for Contractors, on the contact card for the primary contact.
Find nearest task or resource
Using the GPS features within AroFlo's calendar, you can create an efficient job run for resources assigned to specific zones or route urgent jobs to the nearest available resource. For more information, see Scheduling with GPS (Nearest Task or Resource).
Using Zones to Assign Contractors to Work Orders
You can also use the same logic when assigning contractors when creating work orders.
Prerequisites
In order to use this feature:
- you must be creating the Work Order from a task and not via Create > Work Order
- your client addresses or task locations must be geocoded. See Create a Client in AroFlo Office and Create a Location.
1. Enable Resource Zones for Contractor contact
For the Contractors you want to use this feature for, ensure the primary contact has Resource Zones ticked:
- Go to Accounts > Contractors to access your Contractor List
- For the Contractor you want to use zones for, click the primary contact
- On the bottom of the Contact Card, click the Resource Zones tab and enable the relevant zones you want to use for this Contractor
- Save.
2. Create Work Order
- When creating a work order from a task, click
 to open the Search Contractor window
 - Ensure the Zone column is enabled. If it isn't, click Columns > Zone > Ok.
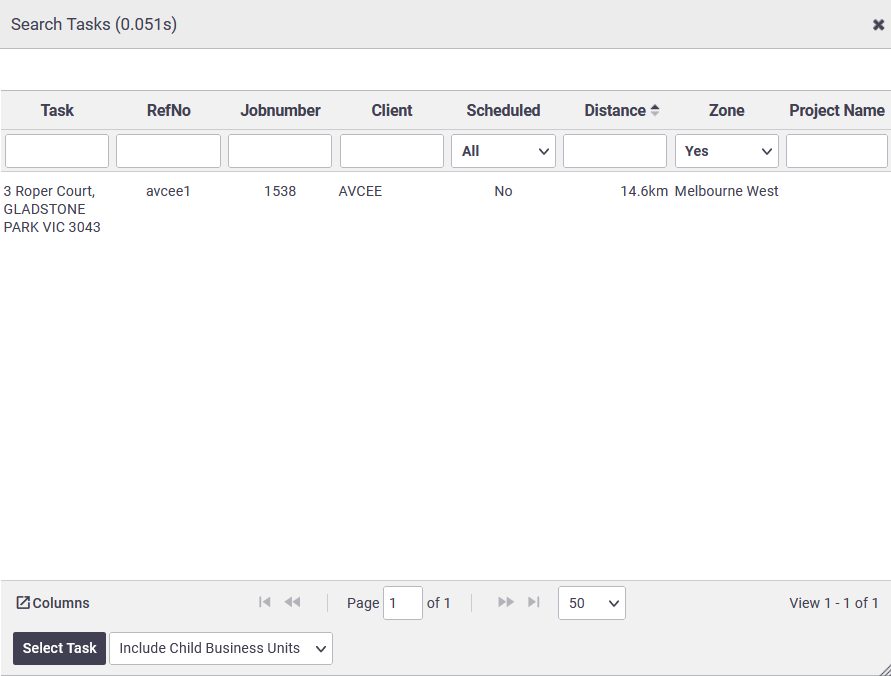
- Use the Zone column to determine who to assign your work order to:
- Use the ‘All’ selection in the dropdown to show you the resource zones your contractors you've set resource zones for operate in so you can choose who to assign the work order do, depending on the task location.
- Alternatively, to further automate this, use the ‘Yes’ selection to filter results based on contractors operating in the same resource zone as that of the task.
- Double-click a contractor to select them.
