|
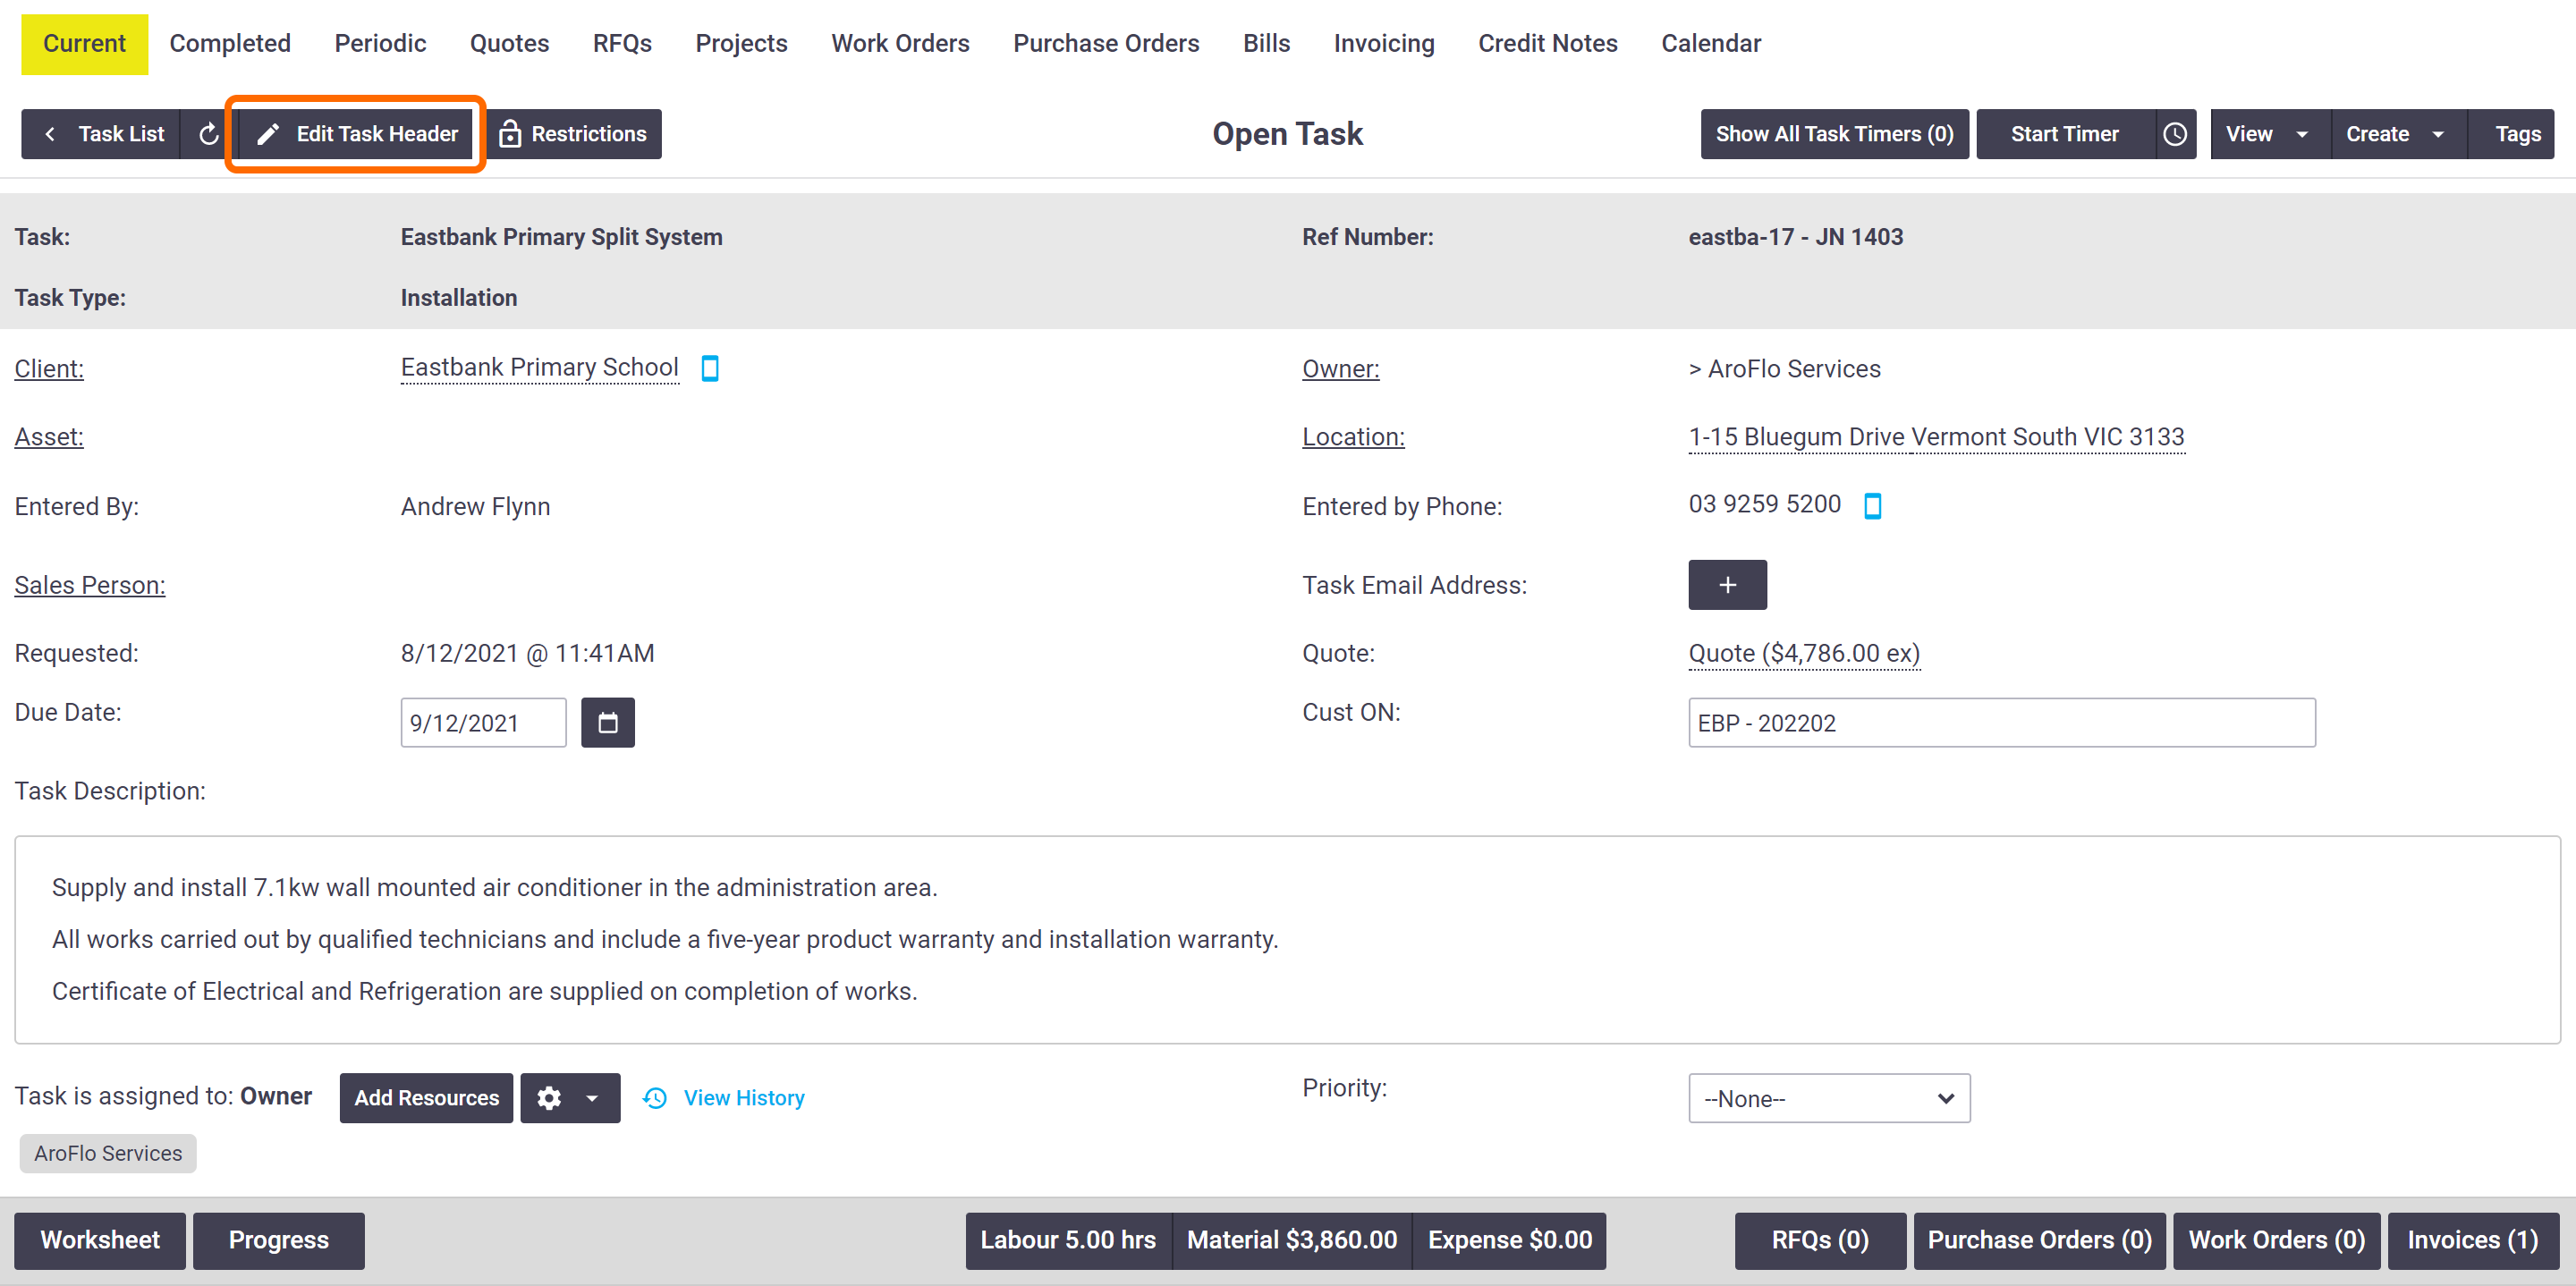
You can change most of the key details of a task after it has been created via the Edit Task Header button:
|
 |
 |
Explanation of fields
| Field | Description |
|---|---|
| Owner |
To move a task from one Business Unit to another, click in the dropdown menu, next to Owner, and select a different business unit from the list. The Parent or Child Business Unit will also be shown if it exists, e.g. Electrical Company > Installation Business Unit. |
| Task Type |
To change the task type from the original one selected during task creation, select the new task type from the dropdown menu. Changing the task type in this way does NOT change any of the initial settings linked to the previously selected task type, such as Checklists and Default Service Fees. However, any:
Default task descriptions Changing the task type also does not update the task description, if you've set up default descriptions for task types; this is only applicable when first creating a task. |
| Due Date | To change the due date of the task, click in the box and select a date from the calendar. |
| Customer Order Number | To change the customer order number, click in the box and type in the new number. |
| Sales Person | To change the sales person for the task, click in the box and search for the new resource from the window. Click on their name to select it. |
| Merge Tasks | Tasks can be merged to create a single task. Refer to Merge Tasks for instructions. |
| Entered By | To change the resource, click in the box and type in the new name. |
| Entered By Phone | To change the contact number, click in the box and type in the new number. |
| Project | Used to link the task to a project. For more information, see Projects. |
| Description | The Task Description tells the field technician exactly what the problem is, or what specifically the client has requested. You can type in a new description, or click the Descriptions button to select a description template. |
| Task Notes | To add a task note, click Add Note (Text) or Add Note (HTML), enter the note and select the note filter (see Add Notes for more information). To edit a task note, click on the edit note link next to the existing task note and change the note as required. Remember to Save to update changes. |