|
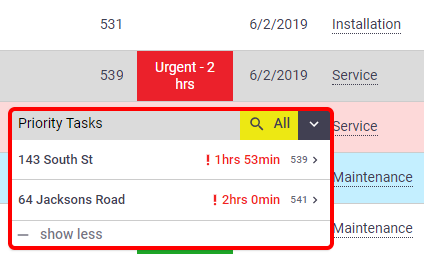
This feature allows you to track tasks that have a required response time (or KPI) to ensure that you meet on-time targets and that jobs are receiving the correct level of attention.
|
 |
 |
Set up priorities and response times
Priorities and response times must be set up at the business unit level and against individual client cards.
To add a new priority at the business unit level:
- Go to Site Admin and select your business unit.
- Click Settings and search for Priorities.
- Click Add Priority.
- Enter a Priority No and a Description.
- Use the colour picker to choose a Schedule Color (optional).
- Set a Response Time for each priority in either Minutes, Hours, Days or Weeks.
- Save.

Enable track tasks with priority response times
|
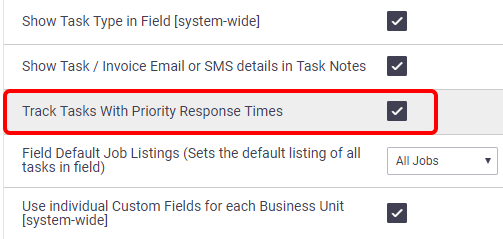
Once you have set up the response times, you need to enable this feature for the Business Unit.
|
 |
 |
Set task priority on the checklist
Response times are monitored based on the date/time the task was entered and the selected priority/response time. A task is removed from the tracking window when the Task Priority (KPI) checklist item is checked off on the task. The KPI could be arrival time on site, or task completion time, or something else that makes sense for your business.
To enable this feature on a checklist for the purpose of ending the tracking of tasks:
- In Site Admin, go to Settings > Tasks.
- Select Checklists.
- Select the required checklist.
- Select Task Priority (KPI) against the item/s you require. For example:
- Use 'Arrived on Site' if your KPI is based upon arrival on the job.
- Use 'Task Completed' if your KPI is based on work completed.
- Save.

Enable track tasks on the client card
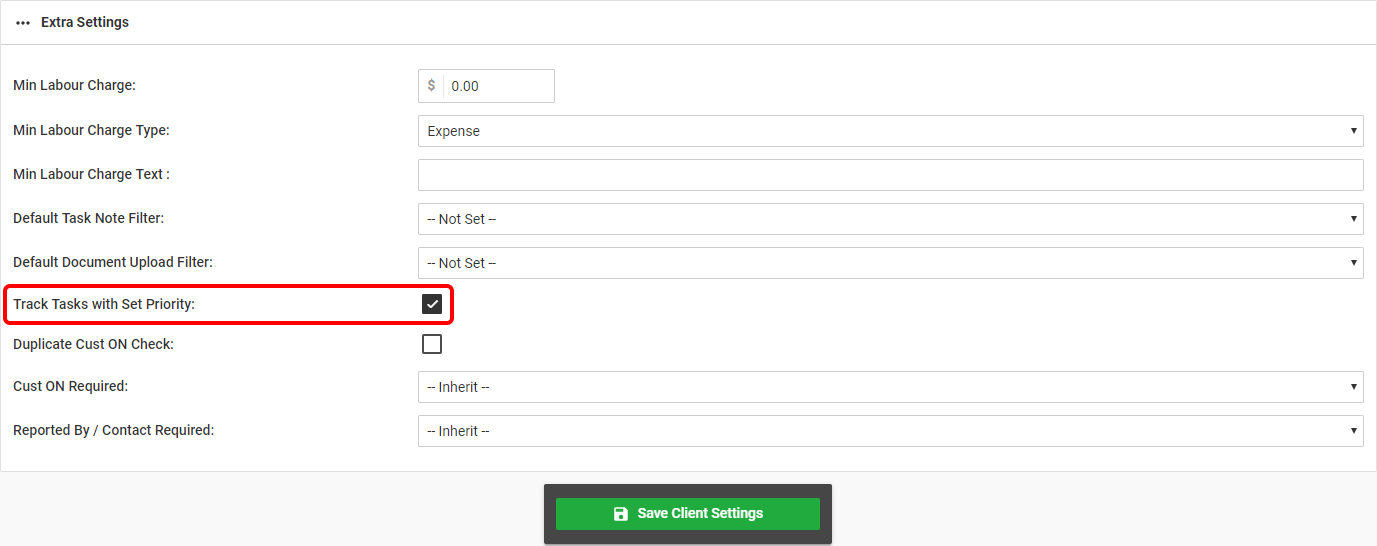
Now you can specify which client(s) you want to display tasks for within the tracking window in Office.
- In Office mode, go to Accounts > Clients.
- Search or select the client from the list.
- Scroll down and select Client Settings and Defaults.
- Select Track Tasks With Set Priority.
- Save.
- Log out of AroFlo and log back in again to start using the Priority Tasks tracking window.
