Add Barcodes to a Layout

Learn how to add barcodes to your layouts in AroFlo Office

Updated on October 3rd, 2025

You can enable faster payments or automate data collection by adding barcodes to a layout.

AroFlo includes a range of barcode options. From QR codes for payment (such as BPAY and GET PAID FASTER) to custom barcodes for machine-readable information (such as Task, Invoice, Inventory, Asset, Client, Location or Project data).

Some use cases of layout barcodes:

  • Adding payment QR codes to give your client more choice and reduce the risk of payment errors.
  • If you invoice Real Estate or Strata Management, using QR codes to get invoices processed faster.
  • Adding barcodes that are generated from dynamic data (such as Task / Asset or Inventory information). Using a barcode system, these can then be used to automate workflows.
  • Adding a QR code to easily open a task in either AroFlo Office or Field.

To add a barcode to an RTF layout, see Add Elements to a Document Template.


Add a barcode element

To add barcode elements to your layout:

  1. Preview your preferred layout and click Customise
  2. Click Layout Elements
  3. Click Barcode
  4. barcode element will appear in the top left corner of your layout
  5. Click the element and drag it to where you want it to appear on the layout
  6. Click the barcode element to reveal the Properties box (located on your right)
  7. Click Setup
  8. Use the Barcode Setup window to apply a barcode design
    1. To create a new barcode design, click the Manage Barcodes tab and refer to the section below
    2. To apply an existing barcode design, select a barcode using the dropdown on the Current Barcode Setup tab. Click Save.


Manage Barcodes

The Manage Barcodes tab lets you create or edit existing barcode designs. This could be a BPAY QR code or a custom Code 128 barcode.

Once created, you can apply these barcode designs to the barcode element on your layout.

  1. In the Barcode Setup window, click the Manage Barcodes tab
  2. To create a new barcode design, click New. (If this is your first Barcode, skip this step).
    To modify an existing design, select the barcode in the dropdown and click Edit.


BPAY QR/Standard Barcode

Both BPAY barcode types are custom barcode formats which require setup in Site Administration before they can be used on a layout.

 
  1. Enter a Barcode Name, for example, ‘BPAY QR Code’
  2. From the Barcode Format dropdown, select BPAY Details.
  3. Click Save Barcode
  4. To apply the barcode design, click the Current Barcode Tab and select the barcode you just created. Click Save.


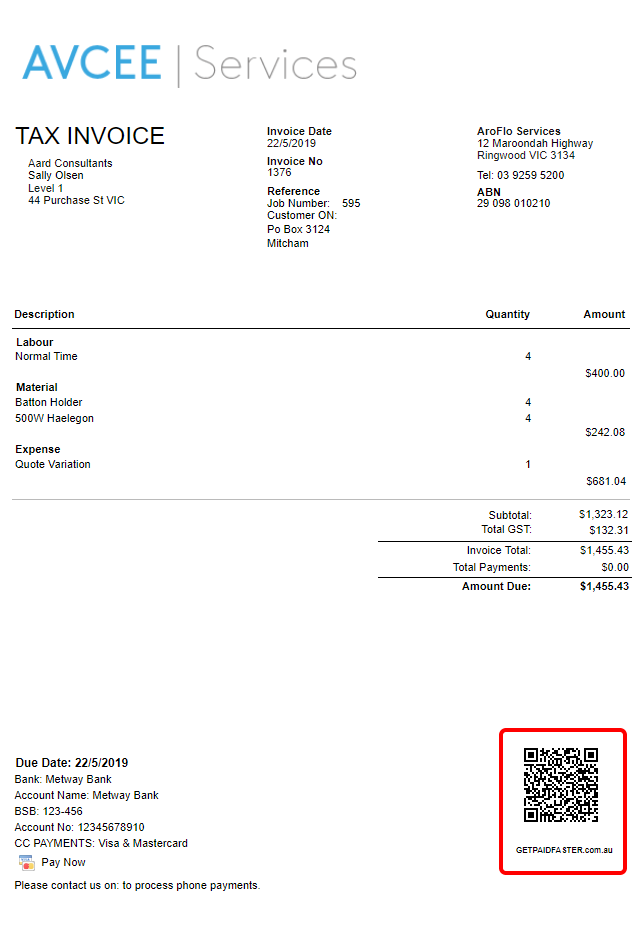
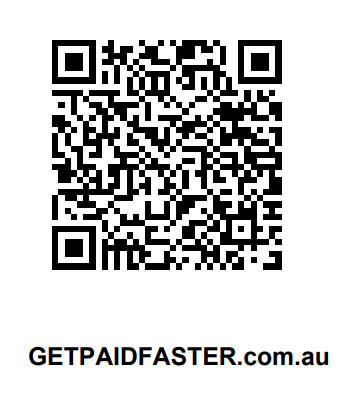
GET PAID FASTER QR Barcode

This is a custom barcode format which requires setup in Site Administration before it can be used on a layout.

 
  1. Enter a Barcode Name. For example, ‘GET PAID FASTER QR Code’
  2. From the Barcode Format dropdown, select GetPaidFaster QR Code.
  3. Enter your Property No./Strata Plan No.
  4. Click Save Barcode
  5. To apply the barcode design, click the Current Barcode Tab and select the barcode you just created. Click Save.


Link to Task

You can also add a QR code linking to a task so that so that users can easily scan the code using their phone or tablet to navigate straight to the task in either AroFlo Office or Field.

  1. Follow the instructions above to add a barcode element 
  2. When managing the barcode, from the Barcode Format dropdown, select QR Code (Custom)
  3. For the Barcode Value, select
    1. [Task URL Source Link (field)] for the barcode to open the Task in AroFlo Field or the App, or
    2. [Task URL Source Link (office)] for the barcode to open the Task in AroFlo Office.
  4. Save the barcode and your layout.


Other barcodes

  1. Enter a Barcode Name, for example, ‘Serial number’
  2. Select the Barcode Format using the dropdown.
  3. Tick Show Value if you want characters to appear under the barcode
  4. Enter the Height and Width (in pixels). Enter a Margin (in pixels) if blank space is required on the left and right of the barcode.

    For effective scanning, leave these fields blank to use the recommended (default) size.

     
  5. Enter a Barcode Value. You can type a value or select data from the options on the right.
  6. Click Save Barcode
  7. To apply the barcode design, click the Current Barcode Tab and select the barcode you just created. Click Save.
 

Once your barcode has been set up, you can save and preview the layout to see what it will look like.

If your barcode does not display, please check the static or dynamic data being used to generate the barcode. The data may be blank or invalid (e.g. too many characters, invalid characters etc).