Take your layout customisation up a notch by adding image elements. There are a range of image tables available within the Tables tab of the layout editor that let you add images from a Task, Invoice, Client, Location or Project. Images of users, materials or assets are also available by adding the appropriate document default image to the relevant table for labour, material and assets.
Use cases:
- Include photos taken on site on a quote layout.
- Include photos of the technician who performed the work and the parts they used on an invoice layout.
- Include photos of assets in an equipment checklist on custom compliance forms.
- Include photos from Checklist items on a Task Layout.
Add images from a Task, Client, Location or Project
The following instructions show you how to add images from a Task, Invoice, Client, Location, Project, or Work Order to a standard layout.

- Select the custom layout you want to add a table to and click Edit.
- Click the Tables tab and select one of the following:
- Task Documents (Images) - embed images uploaded to a Task.
- Invoice Documents (Images) - embed images uploaded to an Invoice.
- Client Documents (Images) - embed images uploaded to the Client card.
- Task Client Documents (images) - embed images uploaded to the Client card linked to the Task.
- Location Documents (Images) - embed images uploaded to the Location card.
- Project Documents (Images) - embed images uploaded to a Project.
- WO Documents (Images) - embed images uploaded to a Work Order.
- Use the search box
 and type in 'image' or 'documents' to save time.
- Image table options will vary depending on the type of layout. The above example uses an Invoice layout. If using a different layout (e.g. a Quote or Compliance Form layout), you may have different options.
- The selected image element will be added to the top left of the layout. Click and drag the element to where you want it to appear on the layout.
- The filter on the uploaded images you want to embed in a PDF must be set to Show Client or Show All. All other filter settings will not display on your PDF.
- For Task Documents, use the Sort Documents button on the task if you want to change the order in which your documents appear. The images on the layout will retain this order. See Documents and Photos in AroFlo Office. - Use the settings on the right to edit the image table. Add columns to choose to display small, medium or large images and other document information. Reorder columns as necessary. See Add or Edit a Table Element for more info on table elements and columns.
- Save your layout, or Save As and give your layout a name.
- To preview the layout, click Preview or use
 (multi-window icon) to open a pop-out window.
Add images of Users, Materials or Assets
The two sets of steps below provide instructions on how to add images of users, materials or assets to a layout. You can walk through the steps that are most relevant to what you'd like to learn about.
Add a table
These steps will walk you through adding a table to your layout to display your images.
1. Edit
Choose the layout you need and click Edit.
2. Material images
To add an image of the materials used or a user profile image of the person who provided the labour, select the table, then Add the relevant Document Default (Image) column in the Columns area.
You may also choose to:
- Select a small, medium or large image. (These options are based on number of pixels and file size). Refer to Documents and Photos for more details.
- For your labour, select image(s) with comments that may include a user biography.

3. Asset Images
To add an asset image, select an Assets table (Assets Table or Task Asset Custom Fields for a Task Layout) then Add the relevant Document Default (Image) column in the Columns area.

- See Add or Edit a Table Element - Asset Tables for more info on Assets Tables
- See Documents and Photos for more info on adding images in AroFlo.
Personalise
These steps will walk you through customising the image table on your layout.
4. Organise
| Reorder columns using drag and drop as needed. |  |
|
5. Modify
| If you need to change the size of images, click |
 |
|
6. Preview
Once complete, click Preview to preview the layout or use ![]() (multi-window icon) to open a pop-out window.
(multi-window icon) to open a pop-out window.

Add images on Checklist table
|
If you've added documents and photos to checklist items, you can include this on your Task layouts. Document visibility
For more information on what you can do with tables, please see Add or Edit a Table Element. Example |
 |
|
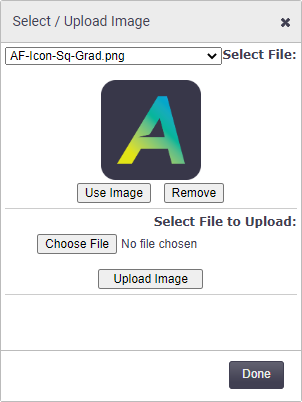
Add images from your file system
|
You can also add images that are not stored in AroFlo. To upload an image from outside AroFlo:
Once you've placed your image onto the layout, you can click on it to alter the image properties, e.g. add a border or change the image size. |
 |
|
Add Custom Field
|
Alternatively, you might have Documents and Photos Custom Fields on your Tasks (e.g. Before and After photos). Add these to your Task layouts by clicking the Data tab and either searching for the names of the fields or by typing ‘CF’. |
 |
|