|
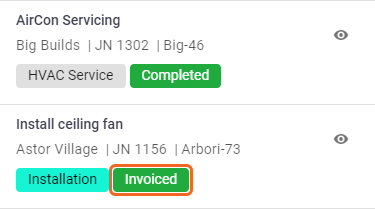
The easiest way to access Task Invoices in AroFlo Field is via the Invoice List, but you can also access them via the Completed Tasks List or via a Task: Open a final invoice for a taskOnce a task has had a final invoice raised against it, tapping the task will automatically open the invoice:
If you tap a link back to the task, e.g. from the invoice itself, tap View Invoice to return to the final invoice.  Access created invoices for a taskAlternatively, to access a list of created invoices for a task, there are two ways you can do this:
Both of these options contain a counter telling you how many invoices are attached to the task. Tap the invoice you wish to view from there.
|
 |
 |
Invoice Header
|
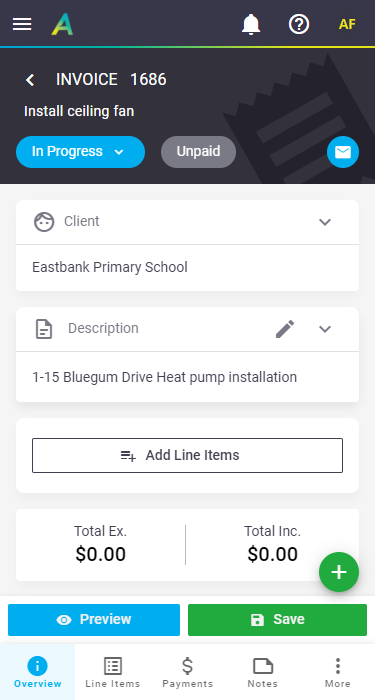
The invoice header tells you the invoice number, task name, and shows whether the invoice is paid, unpaid, or has no costs on it. Edit the status of the invoice if you need to and Save. Options are In Progress, Pending Approval, and Approved. For final invoices, changing the status to Pending Approval or Approved will mean the task will no longer be visible in your Completed Task list. Invoice status explanations
Also included is the option to email the invoice to your client. Tap |
 |
||||||||
 |
Invoice Shortcuts
|
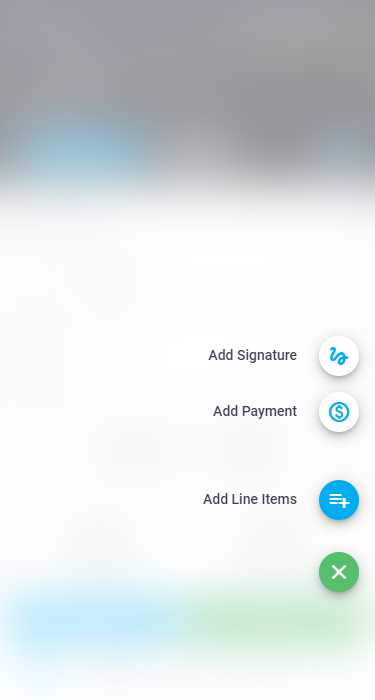
Tap the plus button
|
 |
||||||||
 |
Invoice Tabs
|
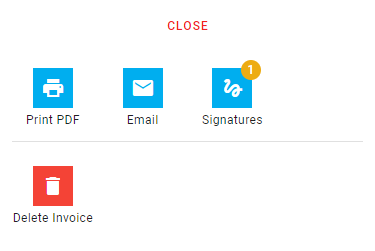
The Invoice worksheet is broken up into five tabs: The Notes and More tabs will have counters on them if information is contained within them, e.g. notes and signatures added to the invoice. |
 |
 |
Overview tab
The Invoice Overview gives you the main details of the invoice, and is broken up into sections
Client Information
|
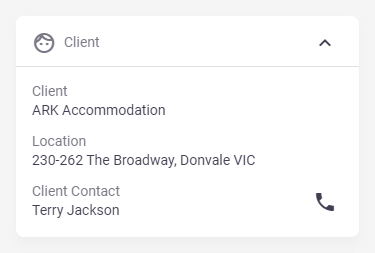
The client name is shown at the top of the worksheet. Tap Explanation of fields
|
 |
||||||||
 |
Invoice Description
|
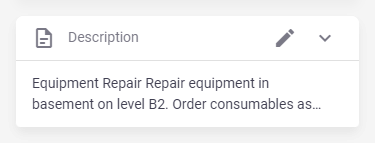
The invoice description is pre-filled with the task name and task description. Tap Tap Tap Descriptions to use a description template. |
 |
 |
Line Items
|
Tap View Line Items (x) to jump to the Line Items tab. If line items are yet to be added, this will say Add Line Items. See Add items to an Invoice for more information. |
  |
  |
Invoice Totals overview
| This is your overall totals of the invoice. Tap an entry to go to the Line Items tab. |  |
 |
Invoice Details
|
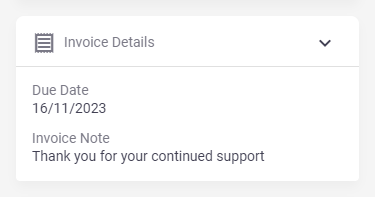
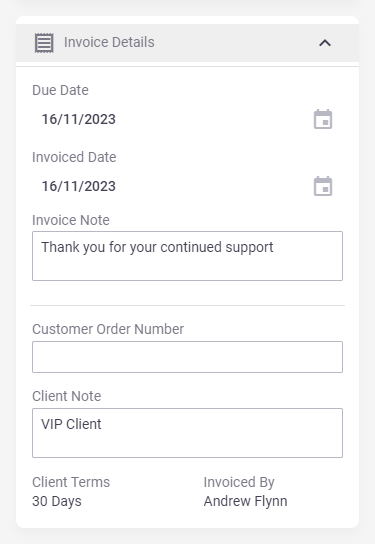
Displays the Due date and Invoice Note. Tap Explanation of fields
|
  |
||||||||||||||||
  |
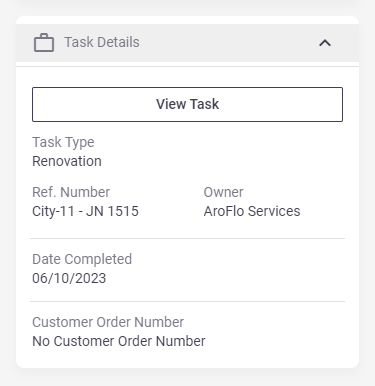
Task Details
|
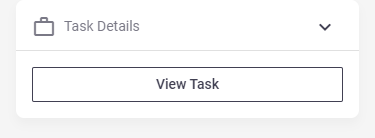
Tap View Task to open the task this invoice belongs to, or alternatively, tap Explanation of fields
|
  |
||||||||||||
  |
Other tabs
Line Items
|
The Line Items tab is where you manage the costs applied to the invoice. See Add items to an Invoice for more information on adding items to invoices. Items may have been added to the final invoice when it was created. See Create an Invoice for more information |
 |
 |
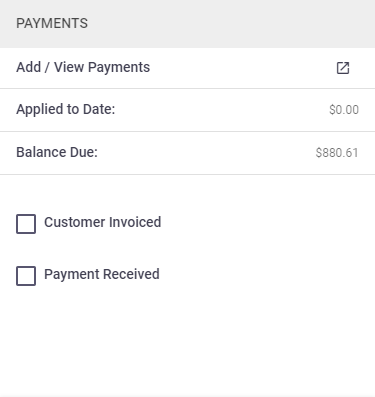
Payments
|
 |
||||||||||||
 |
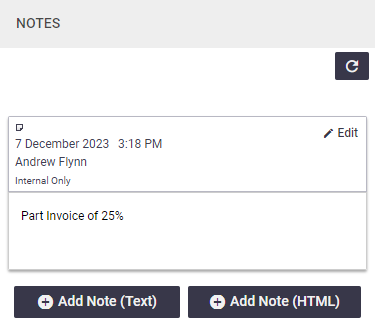
Notes
|
Record general information about this invoice or job and/or view existing notes. Read more on notes. |
 |
 |
More
|
The More tab is in the form of a pop-up.
|
 |
||||||||||
 |
Preview an Invoice
| Tap Preview to preview what the invoice will look like to your client. | Show this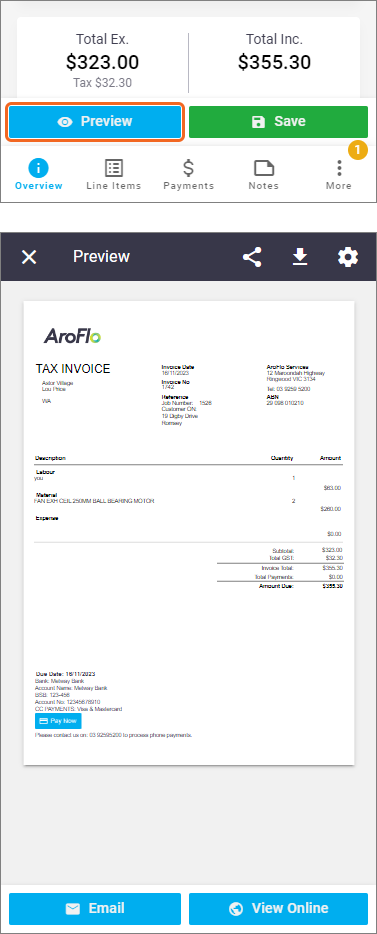 |
Show this |
Print Preview settings
|
If you need to use a different layout, tap Saving Invoice Layouts The Layout field displays the Default Print Layout. If you change the layout and save the invoice, AroFlo will remember the selection if you need it again in the future. The default will also display, just in case you need it. For approved invoices, you can also access the online invoice link from here. Tap More on Online Invoices |
In Progress Invoice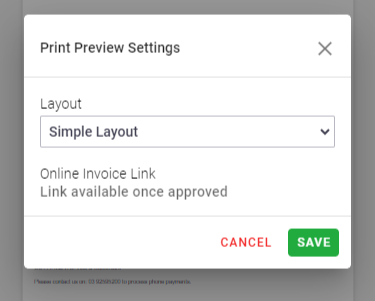 Approved Invoice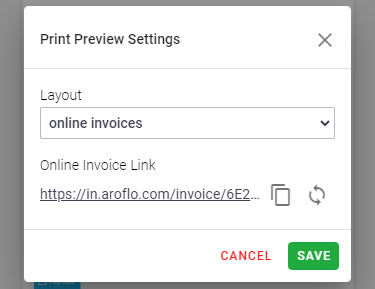 |
In Progress Invoice Approved Invoice |
Share
|
Tap The invoice needs to be approved before you can share the online invoice. |
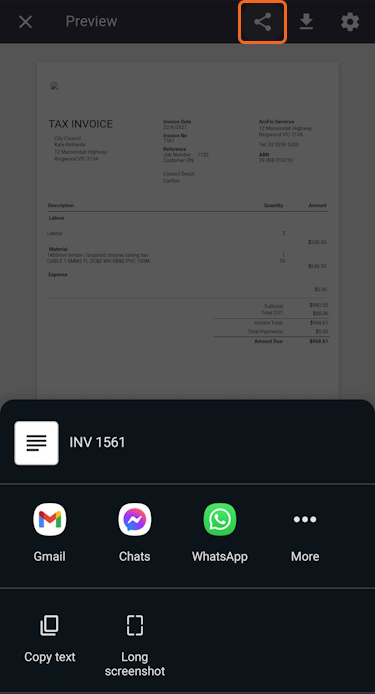 |
 |
Download
Tap  (down arrow) to download the invoice as a PDF.
View Online
Tap View Online to preview the online invoice.
Only approved invoices can be viewed online. If the invoice is not yet approved, you will be prompted to approve the invoice, and then you can proceed with previewing the online invoice.
More on Online Invoices.
 (Filter By) and select Closed tasks, or search for the task you need
 (back) to return to your
  to view more info.
 to call them using your device's default dialling application.
 if you need to edit this and Save.
 and select a layout from the dropdown and Save.
 to copy the invoice link or
  to regenerate it.
 (share) to share the online invoice, using your device's share option.