|
Once you've finished creating your work order and have added all your labour and materials, finalise it by adding any notes or documents and photos (e.g. plans, drawings and installation manuals). Then:
See below for an explanation of these steps. |
 |
 |
Task Documents
You can also attach documents to the work order that are already attached to the task. This feature is handy if you're using Online Work Orders as you can easily share documents and photos with your contractor. This will also remember the filter set for each document.
- Use the down arrow next to Add Documents & Photos > Task Documents
- From the Search Task Documents window, double-click the files you need and close the window when finished
- Save Documents.
All files with the filter set to 'Show Contractor' or 'Show All' will be visible to your contractor viewing the work order online. If necessary, change the filter on any files and Save Documents again.
Work Order status
There are three statuses for work orders. The table below outlines how best to use these in your workflow.
| Status | Description |
|---|---|
| In Progress | Work Order is incomplete or being worked on. Return to an order you're working on via Workflow > Work Orders > In Progress. |
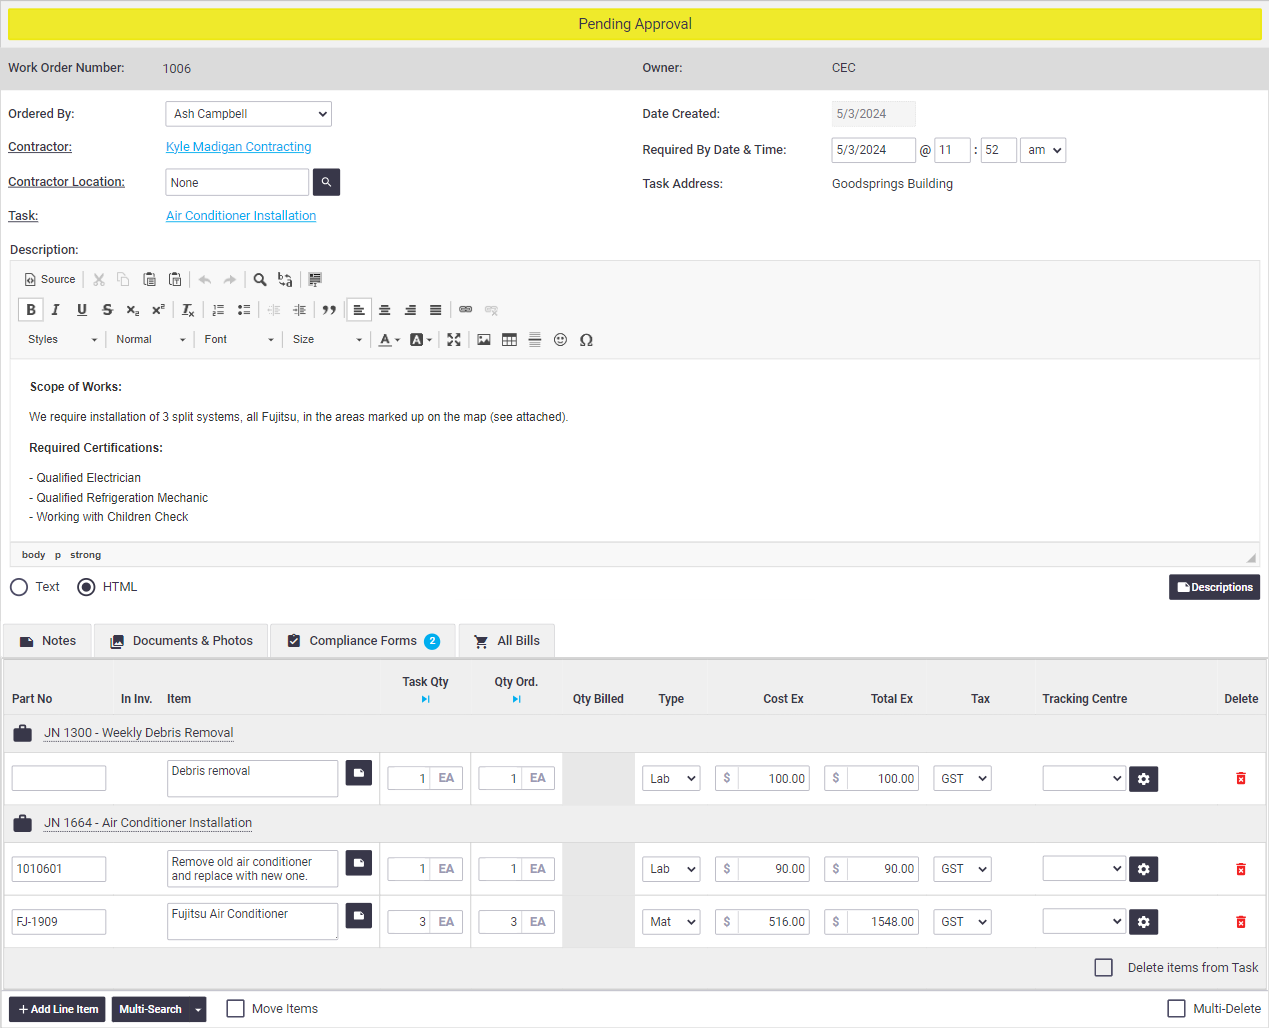
| Pending Approval | Use this status if your workflow requires internal approvals (e.g. from a manager). |
| Approved | Indicates your work order has been approved internally (if using internal approvals) and is waiting on your contractor's acceptance of the work. Use the Acceptance Status fields to track this. See Acceptance Status, below. |
Show me
Pending Approval
Approved and Awaiting Decision
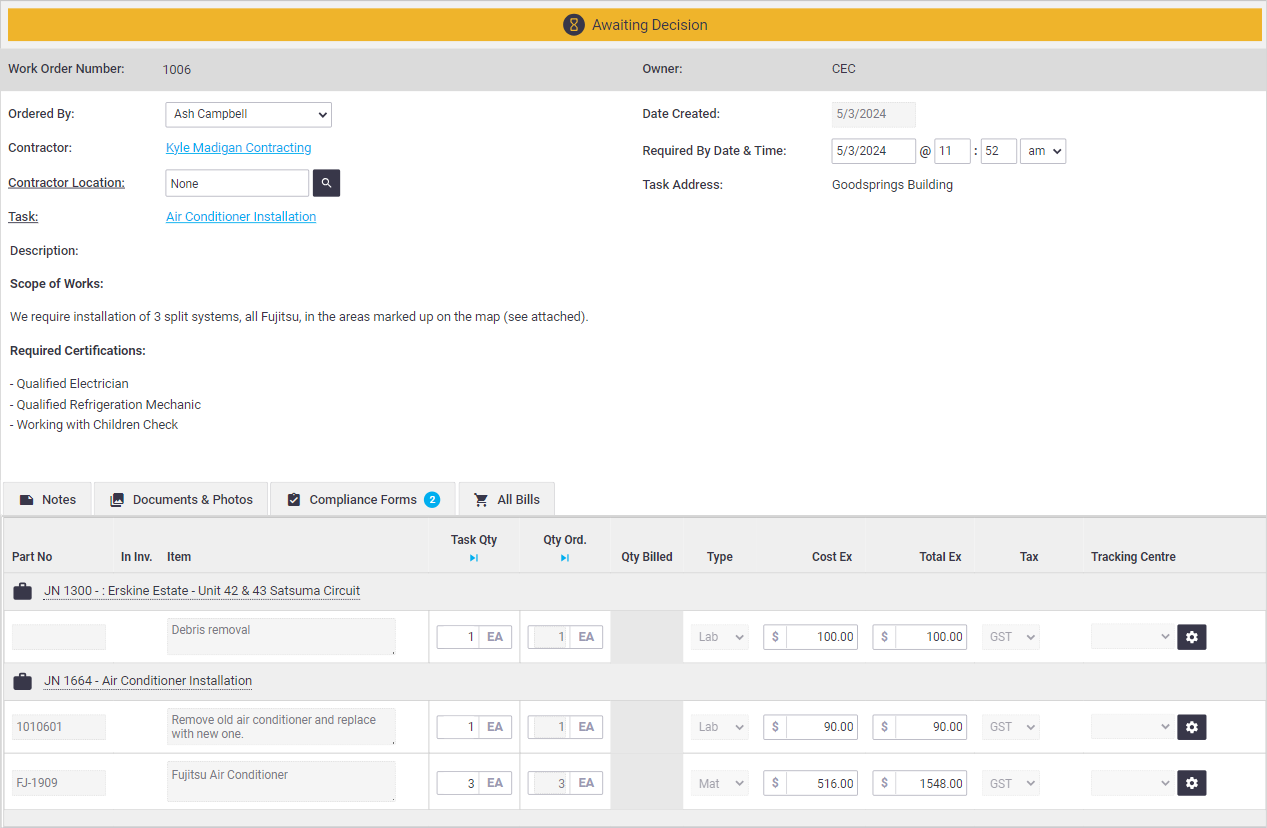
If the above doesn't suit your workflow, you can use Pending Approval to indicate your work order is yet to be approved by your contractor and Approved once your contractor has given the go ahead. If using this approach, you won't need to use the Acceptance Status fields.
Acceptance Status
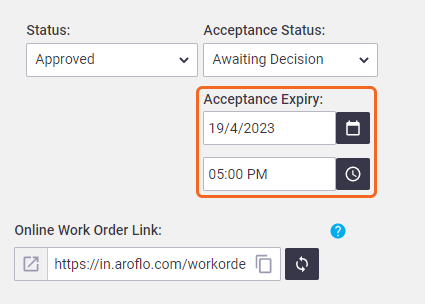
Marking a work order as Approved will display the Acceptance Status fields. The Acceptance Status is used to record your contractor's approval of the work.
Depending on your workflow, this step may be optional. See the above note regarding the Pending Approval status.
|
There are five acceptance statuses. Below is an outline of what each status could be used for but you can use them in whatever way fits your workflow.
Default Acceptance Status Your site administrator can set the work order settings. |
 |
||||||||||||
 |
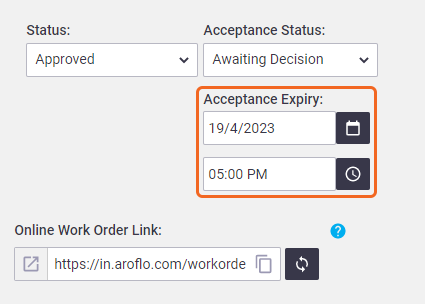
Acceptance Expiry
|
For the Not Sent and Awaiting Decision statuses, you will have the option of entering an Acceptance Expiry using the date and time picker. This can be displayed on your work order layouts and emails. Once the expiry date and time is up, the Online Work Order cannot be viewed. This prevents a work order from being able to be accepted after the expiry date, with possible outdated information. All other statuses will display the Acceptance Expiry date and time you have entered, but they will be read-only. |
 |
 |
Preview a Work Order
Use the Print Options section to preview, print or email the work order.
For more information about layouts, see Standard Layouts.
To preview the work order, go to the Print Options (bottom left) and click Preview.
A preview will appear. If you'd like to use a different layout, select a layout from the dropdown list and click Preview.

Saving Invoice Layouts
The Layout field displays the Default Print Layout. If you change the Layout and Save the work order, AroFlo will remember the selection if you need it again in the future. The default will also display, just in case you need it (see image).
Switching the layout from the default works in conjunction with Online Work Orders.
Send your order
Once your work order has been approved internally (if using internal approvals), it's time to send it off to your contractor so they can complete the work. There are a couple of ways to do this when sending your order via email:
Using Online Work Orders
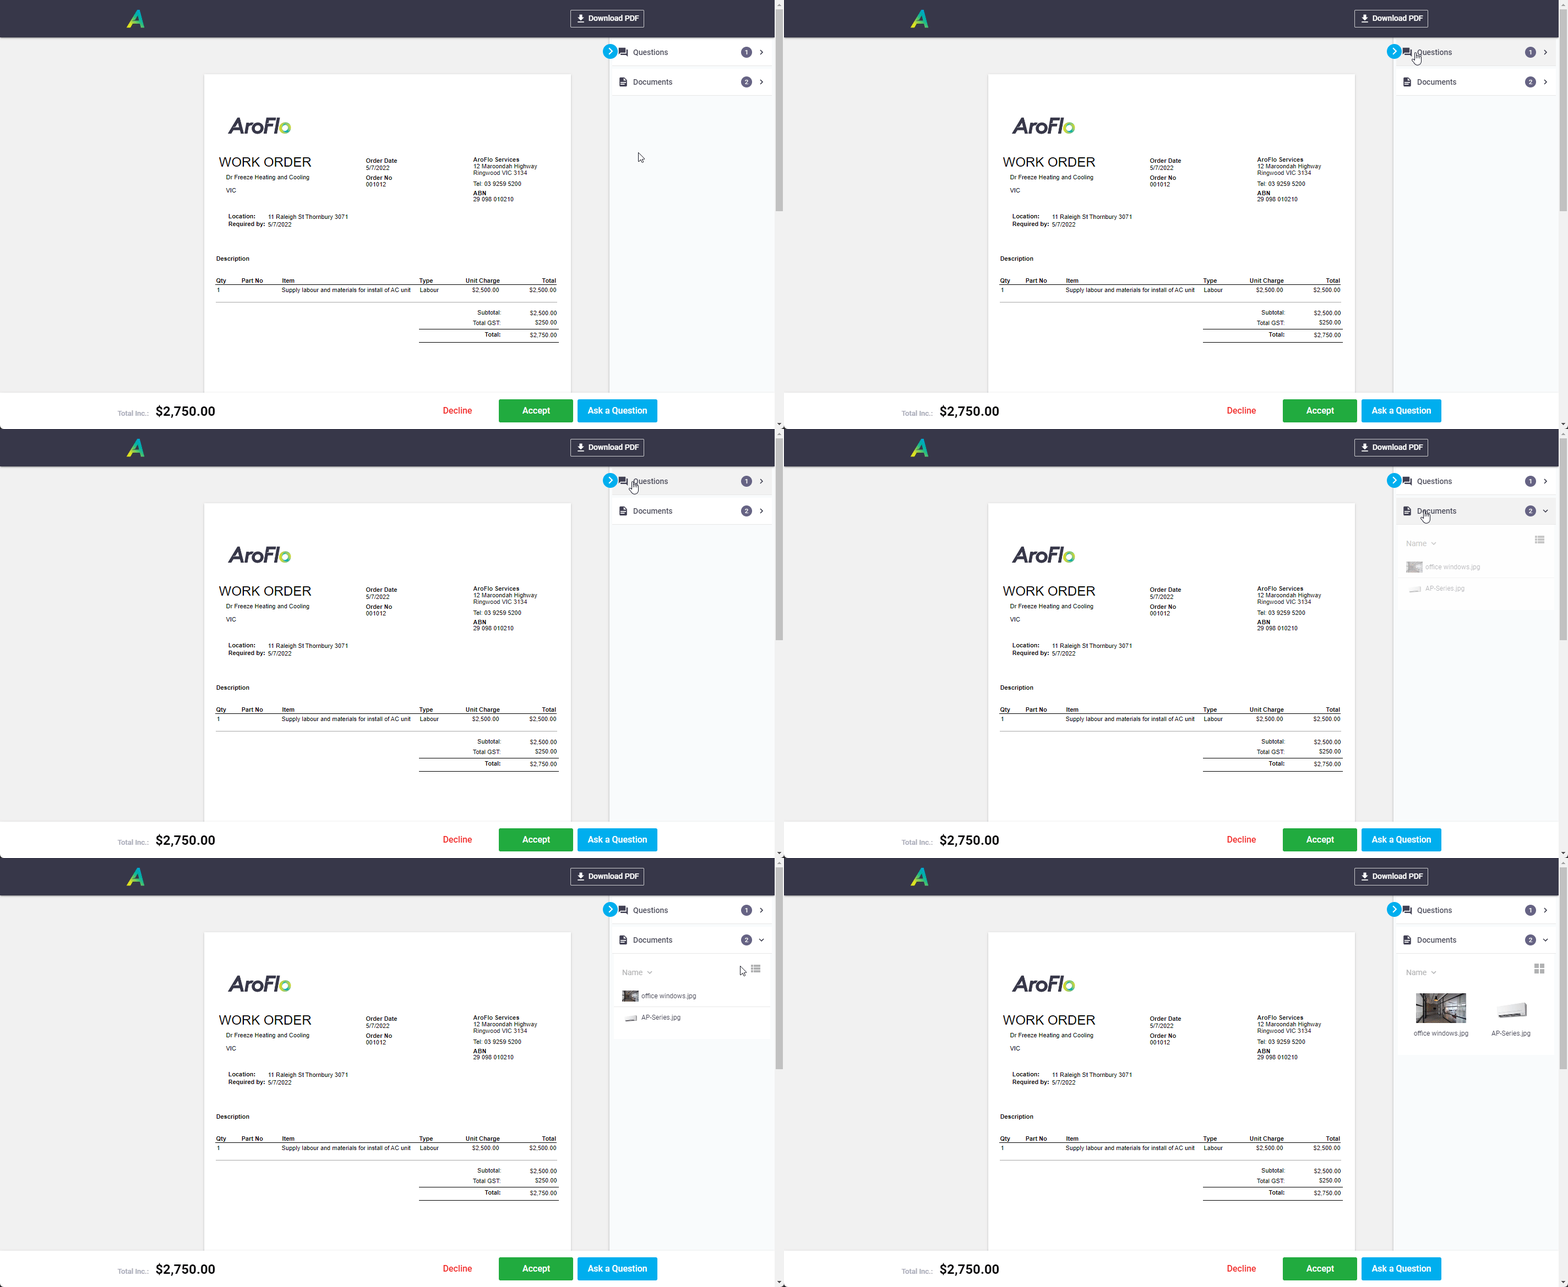
The easiest way to send work orders to contractors is using Online Work Orders. Using this method, you send an email to your contractor, containing a link to the online work order.
The benefits of using Online Work Orders are:
- Contractors can view, accept, or decline work orders which automatically changes the acceptance status for you, automating your workflow.
- Contractors can ask follow-up questions via the Online Viewer, which are then recorded in AroFlo.
- You can easily share documents online with your contractor.
See Online Work Orders for more information, including how to set this up.
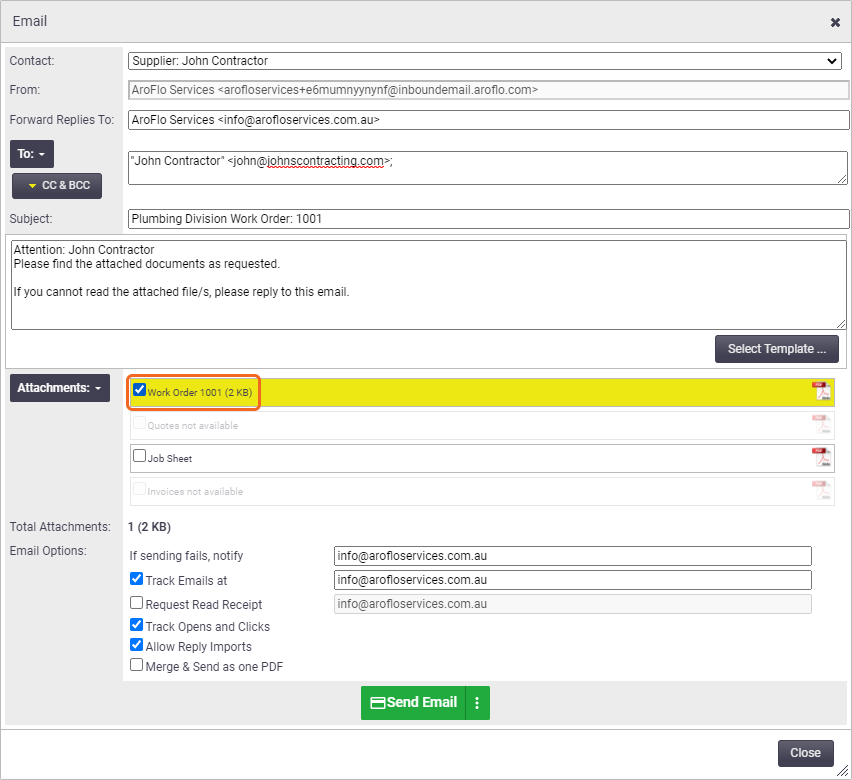
Attached as a PDF
|
Alternatively, you can attach your work order to an email and send this to your contractor:
Read more on sending emails. |
 |
 |
What to do next
Once your contractor has completed the assigned work and/or sent you an invoice, it's time to create a bill. See Receive a Work Order Invoice.