The AroPoint Admin menu is used to:
- add and manage users
- import objects, geofences and points of interest
- create objects.
From the Map view, click ![]() (three cogs icon)
(three cogs icon)
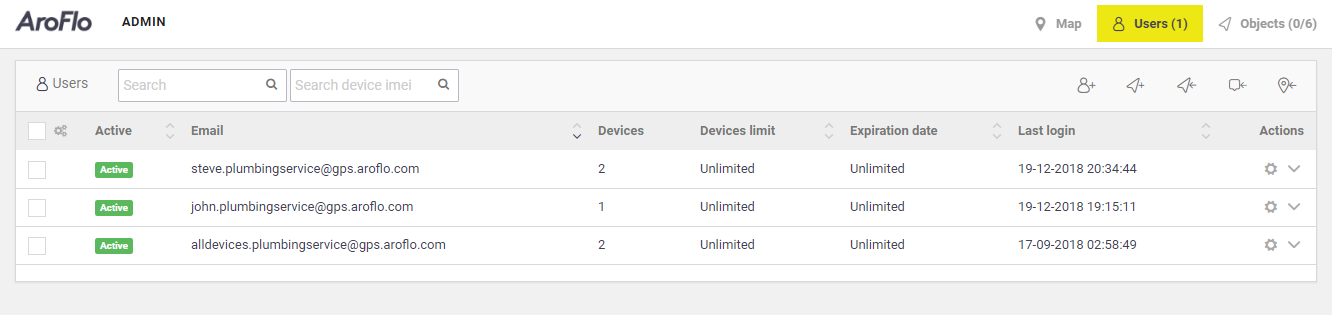
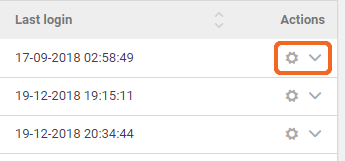
Manage usersManage your users from the main Map screen. Edit a user by clicking the Click the down arrow next to the cog to view data on objects assigned to this user. Click the |
 |
|
 (cog icon). See
Main options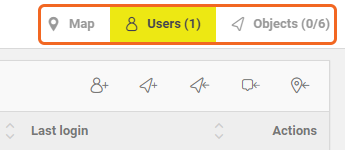
|
Secondary options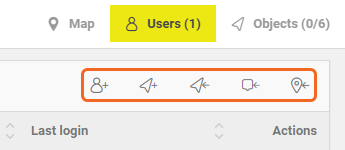
|
||||||||||||||||||||||||||||||
Secondary options
|


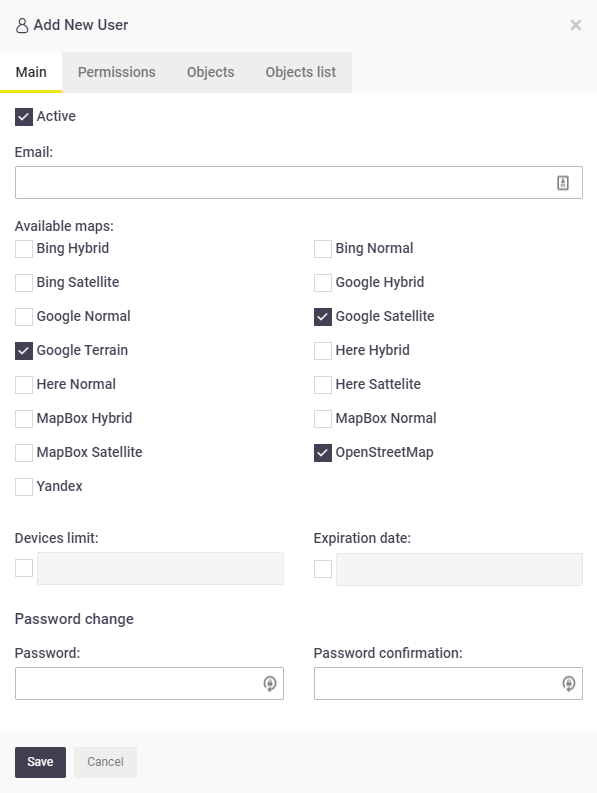
Adding a user
|
Adding an AroPoint user is useful if you want to create custom levels of visibility as opposed to giving all users Full Access.
To add an AroPoint user:
Permissions tabThe Permissions tab contains three access plans:
Click the Plan dropdown to select the right plan for the user you are creating. Select AroPoint Profile If you want to link this AroPoint GPS profile to an AroFlo user, go to the Feature Access tab on the user's card in Site Admin and select the user from the Select AroPoint Profile dropdown. If you want to log in as this user to see what access and visibility they have, click the |
 |
|
 (cogs icon).
 .
.
 (cog icon) next to the user and select Log in as. The Map view will open and you can see what objects display, which menu options will be available, etc. To switch back to view the map as yourself, simply refresh the page (F5).