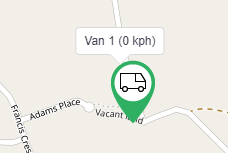
AroPoint GPS lets you view locations and time information recorded by a mobile or GPS device that is connected to an asset in AroFlo.
The level of detail shown on the map and on the asset's timeline is determined by the type of GPS tracking device that has been connected to the user.
Live tracking is only available for supported GPS tracking units. To learn more, see GPS Tracking Overview.
- Know the current location of your field staff, whether they have arrived at their job, or their location when work is signed off.
- Track field staff locations throughout the day for easier scheduling.
- Access GPS records for verifying timesheets and labor entries on tasks.
- Create geofences and alerts.
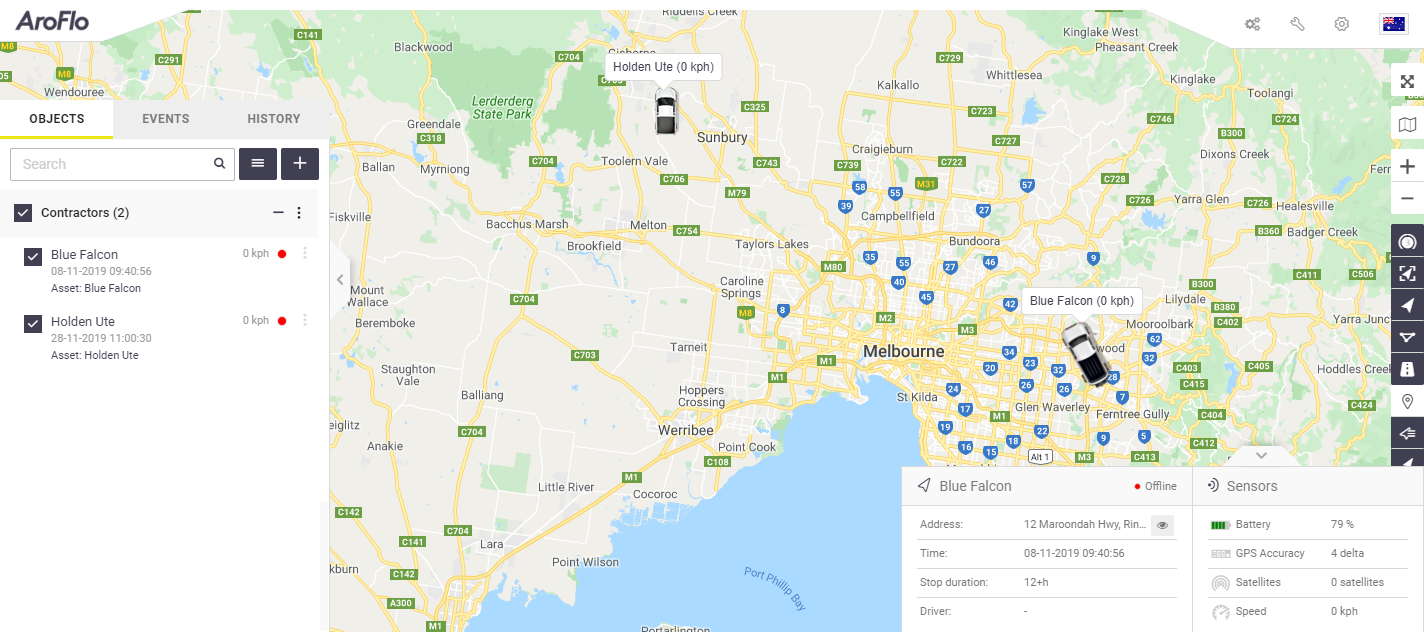
AroFlo Maps rely on websocket communication running on the ws:// protocol. To use AroFlo Maps, your routers and firewalls will need to allow the ws:// protocol on port 80.
Follow the below instructions to add a GPS device to AroPoint.
Adding a GPS Device
In AroPoint, any asset with a tracking device is known as an object, e.g. a company vehicle.
Adding an object
|
When purchasing a GPS device, AroFlo will add your Objects for you and enter the following information:
Simply edit the object's name as well as any other information you wish to change, and link your objects to assets (as per step 4, below). |
 |
 |
- From the Map view, on the Objects Panel, click
 (plus icon)
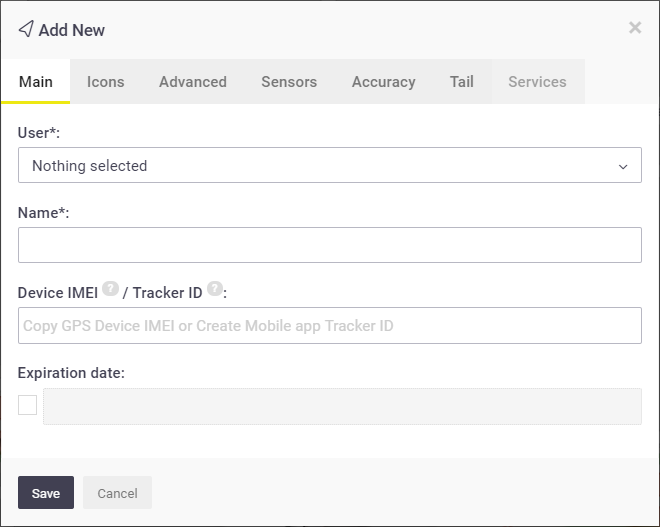
 - On the Main tab, complete the mandatory fields. See the table below.
-
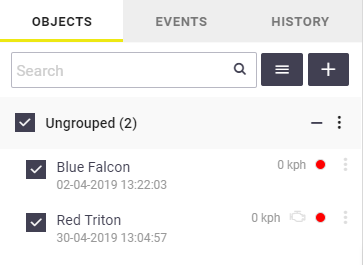
Save. The object appears in the Objects Panel.
Ticking/unticking the tick boxes
 will show/hide the selected objects on the map.
- Link the object to an asset in Manage > Assets. See Connect a GPS device to an asset (vehicle) or Connect a GPS device to an asset (equipment).
Mandatory fields
| Field | Description |
|---|---|
| User |
Select a user/users who you would like to be able to view this object. Only users with Full Access will have access to select users. |
| Name |
Enter a name for the object Object name For example:
|
|
Device IMEI / Tracker ID |
|
Optional settings
| The following tabs contain additional settings which can be used to customise the way your objects display on the map. | 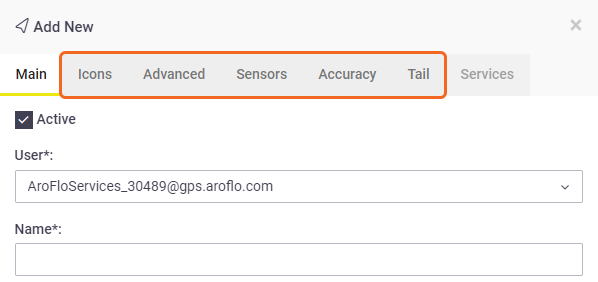 |
 |
Icons
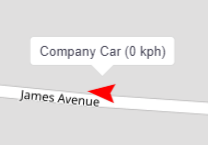
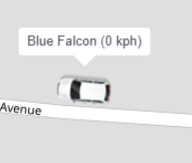
Choose an icon for this object, e.g.
 |
 |
Status colours
If you want to customize the status colors of your objects in the Object list, select Arrow as the Icon type and customize the colors for each option using the dropdowns. You can then switch back to Rotating icon or Icon if you wish.
Status colours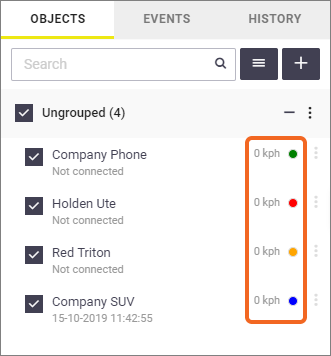 |
Customise colours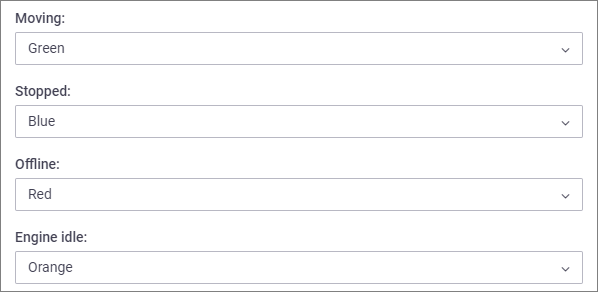 |
Customise colours |
Advanced
- Assign this object to a group. (Set up groups under
 Setup > Object groups.)
 If you haven't set up Object groups yet, you can still add the Object and edit it later to assign to a group.
- Enter additional, non-mandatory info for this object, e.g. VIN, object owner, plate number, fuel measurement, and kilometres per litre.
Sensors
This displays the sensors at the bottom of the screen:
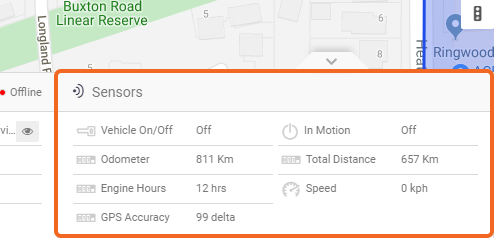
Only users with Full Access will have access to set sensors.
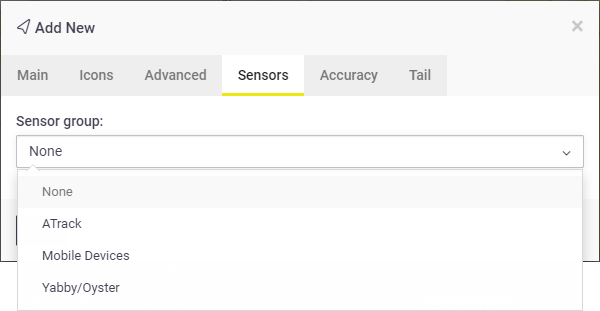
Select the correct sensor group for your type of tracking device:
- For vehicle tracking, select ATrack
- For equipment tracking, select Yabby/Oyster
- If tracking a mobile device via the third-party smartphone app, select Mobile Devices.
Sensor group
Tail
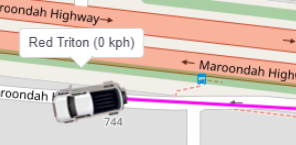
Choose a color for the object's tail.
Accuracy
The Accuracy tab is pre-set and does not need to be modified.
Services
The Services tab is currently not supported.
