Resource zones are used to define boundaries or service areas for your resources and subcontractors to enable efficient scheduling of jobs based within those boundaries.
The following instructions explain how to set up resource zones. For information on how to use resource zones for scheduling, or for efficient contractor assignment on Work orders, see Geo Zone Scheduling.
Add zones
|
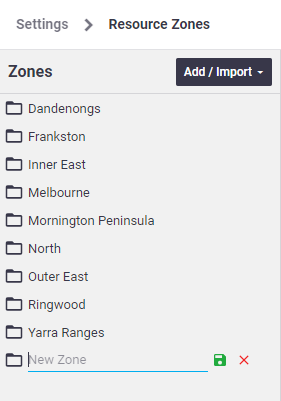
Zones are the service areas that will be assigned to your resources, e.g. Northern, Southern, South East, etc. To add a zone:
|
 |
 |
Define geographical boundaries
Now that you've added your zones, the next step is to define the geographical boundaries for each zone. This can be done by using geo-fences on Google Maps, or you can use suburbs or postcodes.
1. Geofences
A geofence is a boundary that is drawn on a map to define a zone.
- Choose from one of the following tools, which you can find at the top of the map:
Circle Rectangle
  Polygon
The polygon tool allows you to add points on the map that will enclose an area. To finish the polygon, click on the first point you added.
- Draw an area on the map
- Select a zone from the dropdown list
- Click Done
- Repeat for each zone
- Click Save Map Geofences

2. Zip Codes/Suburbs
|
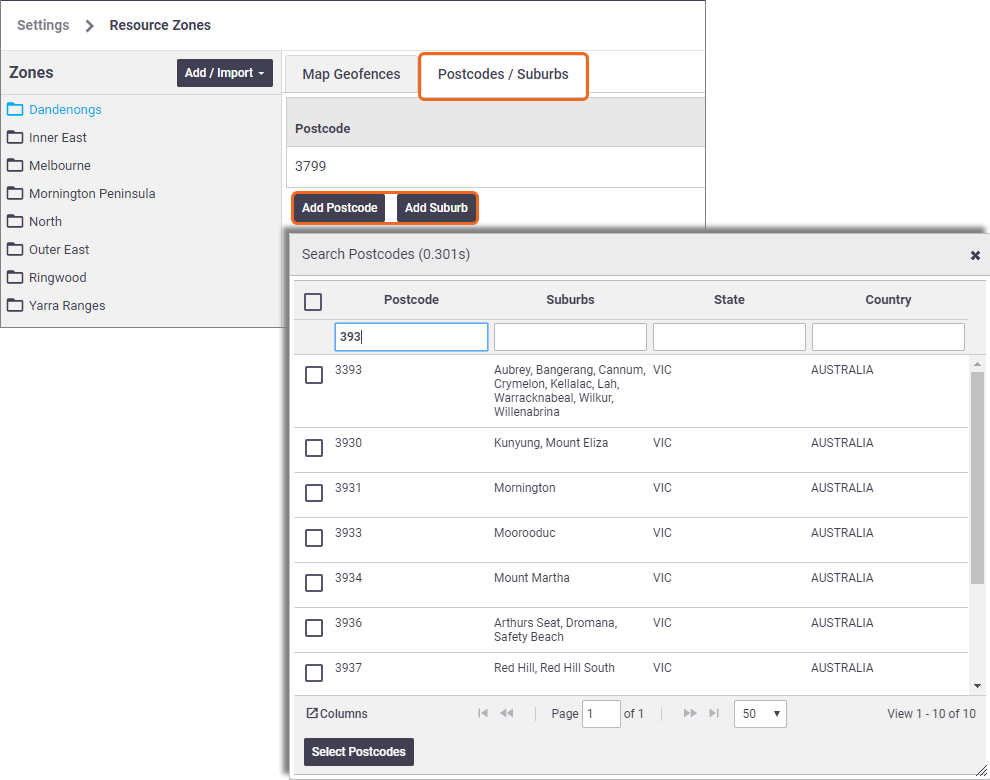
Now you have defined a zone, you must associate either zip codes or suburbs to it:
|
 |
 |
Import resource zones
|
If your site has multiple business units, you can import existing resource zones which can be shared between business units. Alternatively, you can choose to use existing resource zones as templates to create new zones.
|
 |
 |