Once you've created your purchase order and filled out the order details, the next step is adding the items you want ordered.
Line Item Options
There are a few ways items can be added to purchase orders. Click the tabs below to find out more about each option.
Automatically add line items to your Purchase Order
There are a couple of ways you can automatically add items to your order:
- Supplier Invoice Imports - Using supplier invoice imports, adding the line items on your purchase order is optional. Simply provide the purchase order number to your supplier and when their invoice is imported into AroFlo, your purchase order line items will be populated and a Bill will be generated and recorded against the purchase order. See Import Supplier Invoices for more information.
-
AI Bill Scanner - Use our AI Bill Scanner feature to upload an invoice issued to you by a supplier and extract data from it to import your items onto your purchase order. See AI Bill Scanner for more information.
This feature does not come standard with AroFlo and requires enabling.
Tax-exclusive or inclusive pricing
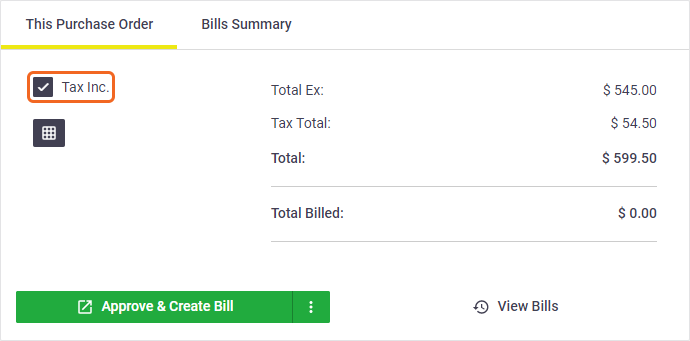
By default, unit prices are treated as tax exclusive. If you want to use tax-inclusive pricing, click the Tax Inc. checkbox located in the purchase order summary area before adding items.
Show me
Ad hoc line items
To add a new line for ordering items that are not linked to your Inventory:
- Click Add Line Item.

- Complete the fields as described in the table below.
Ad hoc fields are all blank for manual data entry. Items that exist in your AroFlo site are auto-filled using information stored against inventory items.
See an example
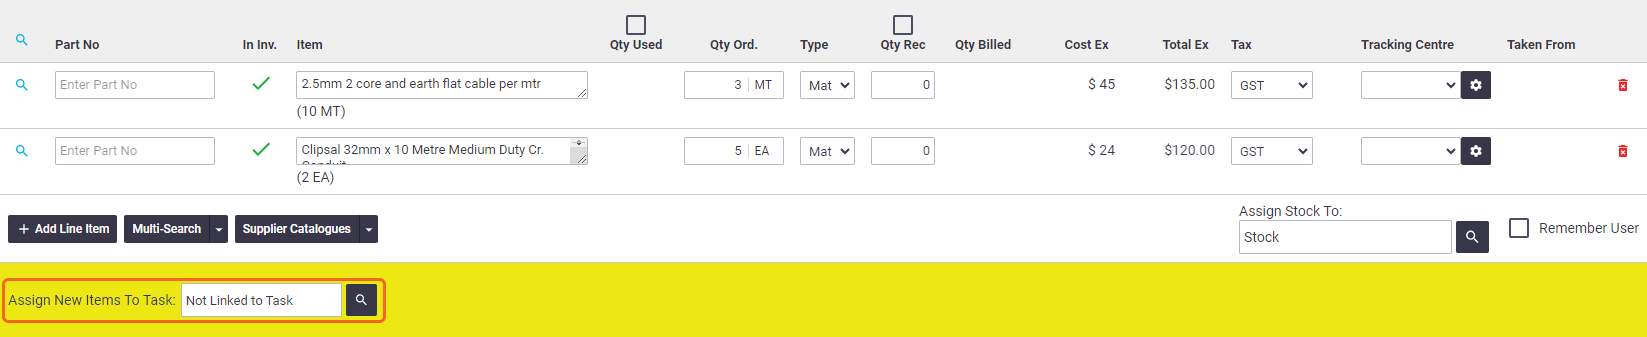
In the image below, the first line item has been added manually, using the Add Line Item button. The second line item has been added using the Multi-Search > Inventory option.

- Click Save to complete.
Options button
Once the purchase order is saved, any ad hoc items will have an Options button in the In Inv. column. You can either use these options from here or as part of the check items process. See Create a Bill - Update Inventory Pricing From Bill for an explanation.
Inventory
To select existing inventory items:
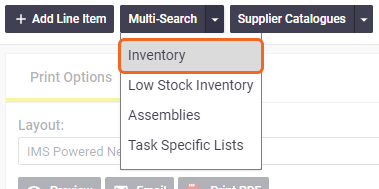
- Click Multi-Search and select Inventory.
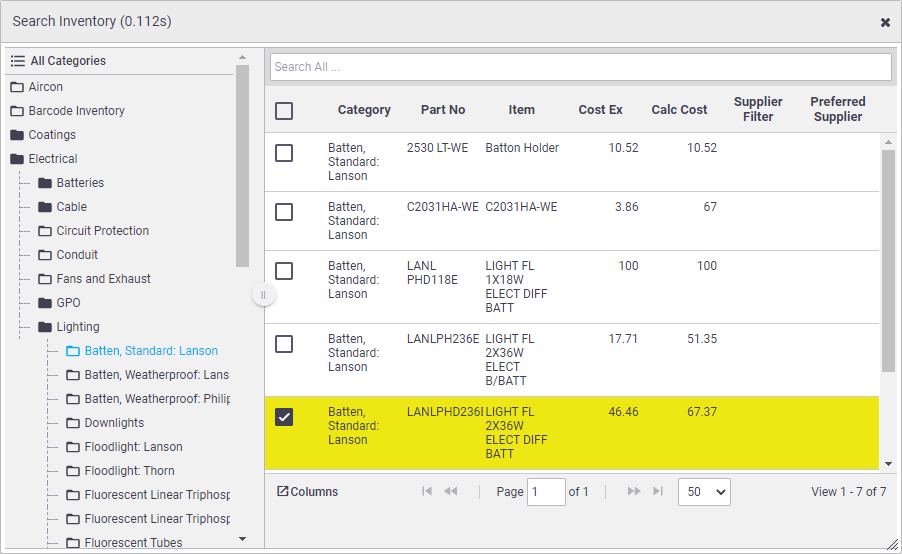
- Find your items by entering a keyword into the Item description into the fields at the top of the search box, and/or by going through your Inventory categories.
Header columns
Click the columns
 button to add additional searchable columns to the header.
 - Click an item to select it, or click the checkbox on the left-hand side. You will notice the selected items appear on the purchase order (using the listed cost price).
Cost price
On a Purchase Order, the listed item cost will be based on Cost Ex, rather than any Calculated Cost that has been set.
- Close the pop-up window once all items have been added.
- Enter the required quantity into the Qty Ord. field for all line items.

- When complete, click Save.
View stock levels
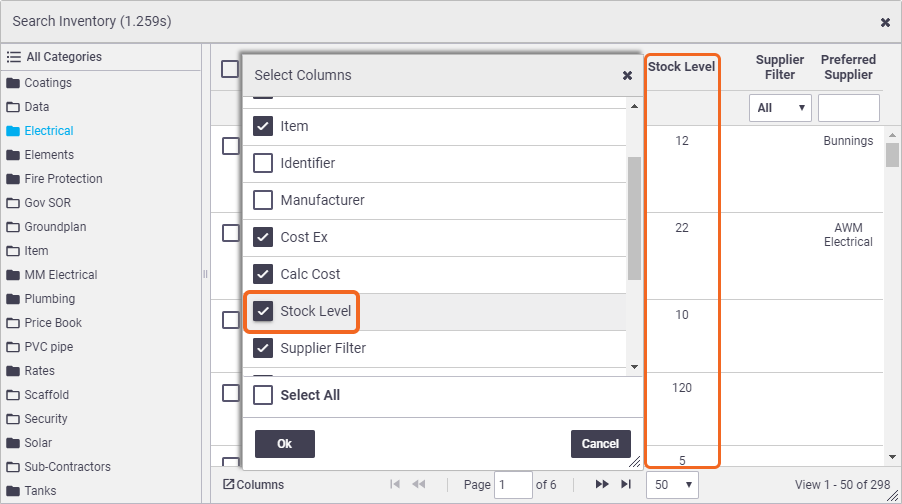
To view the stock level when selecting stock from inventory, click Multi-Search > Inventory > Columns and click the Stock Level checkbox.
Show me
Low Stock Inventory
The Low Stock Inventory option is a quick and easy way to restock materials that fall below the required level set on the inventory card. See Stock Alert Levels to learn how to set minimum stock levels for inventory items.
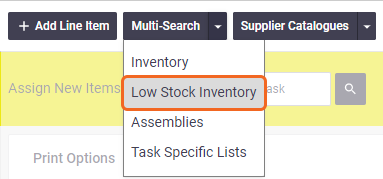
- Click Multi-Search and select Low Stock Inventory.
- To filter the list by Resource or Custom Holder, enter the name into the Stock Assigned To column.
- To add all items to the order, click the first checkbox (top left). Alternatively, click individual items you want to order or use the checkbox on the left-hand side.
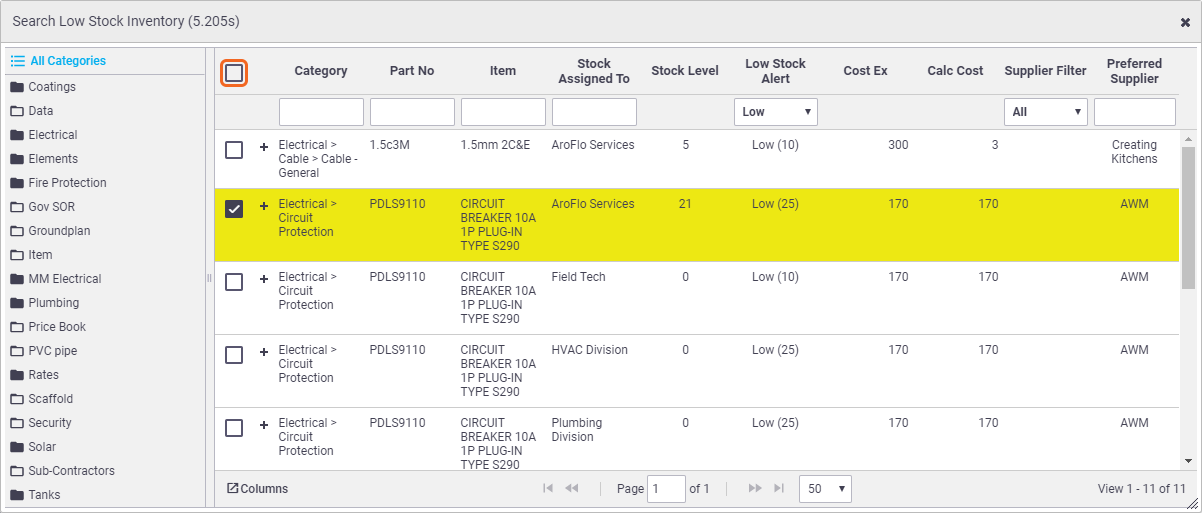
- When complete, click Save.
See Low Stock Inventory Orders for more information on keeping low stock up to date.
Assemblies
To order items within an assembly (a list or kit of items):
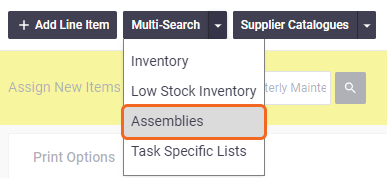
- Click Multi-Search and select Assemblies.
- Use the filters at the top of the search box to find the relevant assembly, or by going through your Inventory List categories.
- To add an entire assembly to the order, click Select Header, or, add individual items within an assembly by double-clicking each item.
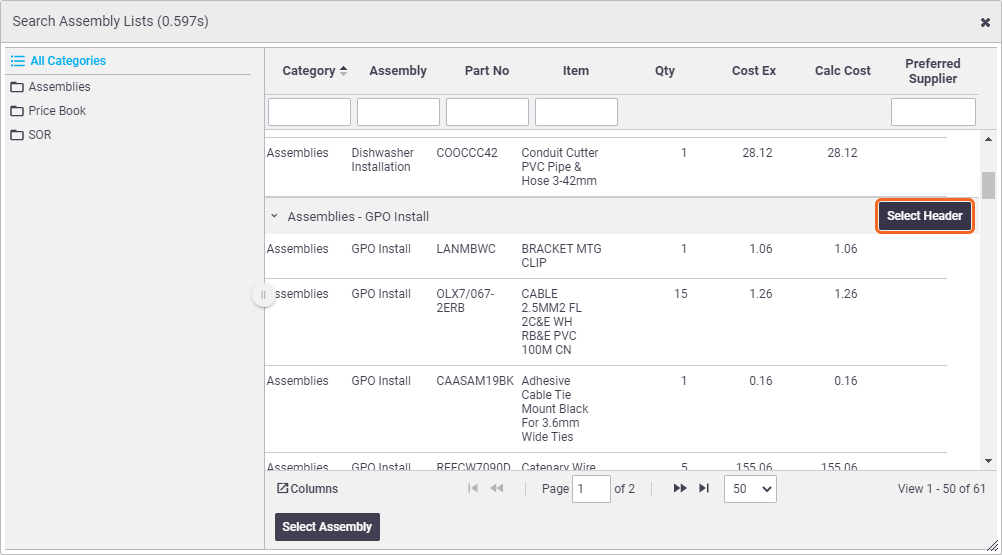
- If you added an entire assembly, enter the required quantity into the Qty Ord field on the assembly header (first line item), or alternatively record the quantity for each item if you added individual items.
- Click Save.
Task Specific Lists
Adding items within a Task specific list is much the same as Assemblies:
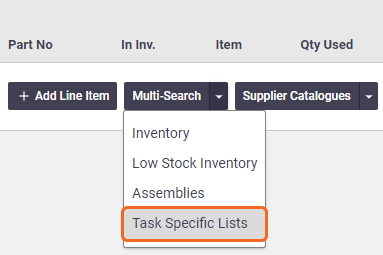
- Click Multi-Search and select Task Specific Lists.
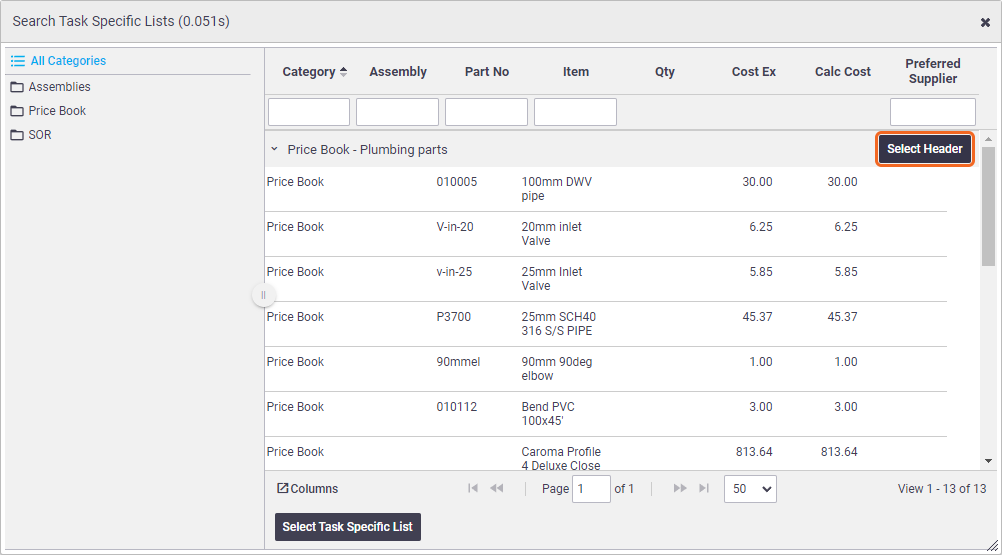
- Use the filters at the top of the search box to find the relevant list, or by going through your Inventory List categories.
- To add an entire list to the order, click Select Header, or, add individual items within a list by double-clicking each item.
- Enter the required quantity into the Qty Ord. field for each line item.
- Click Save.
Supplier Catalogues
To add line items directly from a supplier's online catalogue, see Using Supplier Online Catalogues.
Quote Line Items (Order materials from a task only)
| If the task was created from an approved quote, you can click Quoted Items. This displays a list of all the material items from the quote. |  |
|
From here, enter the quantities you want to order in the Qty Ord. fields, or simply click the Add All checkbox at the top of the column and Save.
Stock level
You'll be able to see the stock level for items in your inventory for the stockholder in the Assign Stock To field. If you edit the stockholder from here and Save and return to the Quoted Items area, stock levels will update accordingly. See Assigning items, below for more info on assigning stock.

Working with a Detailed Quote?
If working from a Detailed Quote, you'll also have separators for the takeoffs.

Using preferred suppliers?
| If you've added suppliers to inventory items, you'll have a plus |
 |
|
Line Item Fields
Field |
Description |
|---|---|
| Part No | The part number of the item. |
| In Inv. |
|
| Item | The Item name/description. |
| Qty Used | View or record the quantity of items used on the job (Only applicable for Task Purchase Orders) Automatically add new items to task Purchase order items and associated costs are automatically added to Task Materials. For more information, see Purchase Order Settings. |
| Qty Ord/Unit Type |
Enter the number of items you want to order (Required Field) and edit the unit type if necessary that this item is consumed/sold. Edit unit type Editing the unit type will only affect the item's unit type for this purchase order. To set the item's unit type, edit the unit type on the inventory card. |
| Supplier Quote No. | This field only appears when using AroFlo's Supplier Connect feature. It updates when adding items from a Reece Branch Quote. |
| Type | Select ‘Mat’ = Materials or 'Fre' = Freight |
| Qty Rec | Used to record the quantity of items received from the supplier. The Qty Rec column heading includes a tick box that allows you to set the quantity received on all line items to the same value as the quantity ordered. The quantity received field becomes colour-coded and read only once a bill has been created for this purchase order. This is because the quantity received is then recorded on a bill. See Check Quantities on a Bill for more information. |
| Qty Billed | The quantity of this item that has incurred a charge from your supplier. See Check Quantities on a Bill for more information. |
| Cost Ex | Used to record the unit cost of the item. When adding ad hoc items, enter the cost or leave it as '0'. If the cost of an inventory item is changed on an order, this will not update the cost field on the inventory card. For more information, see Update Inventory Pricing From Bill. |
| Total Ex | The Total value (excluding Tax). If updated, the system will back calculate the unit Cost Ex. value based on Qty Ordered. |
| Total Inc | The Total value (including Tax). If updated, the system will back calculate the unit Cost Ex. and Total Ex. values. |
| Tax | Select the appropriate Tax Code from the list. |
| Tracking Centre | Link an existing Tracking Centre to help categorise or group items for reporting purposes. |
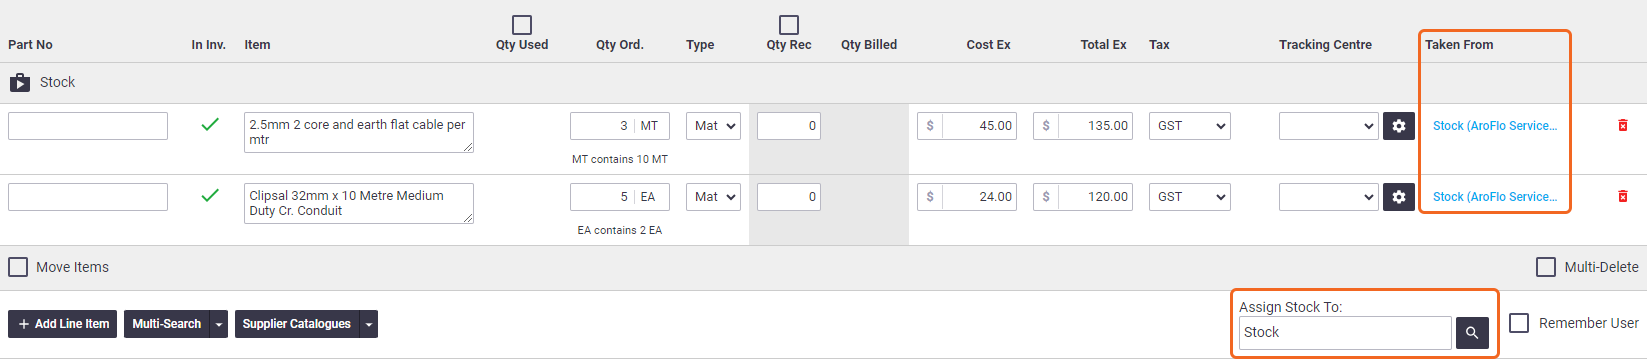
| Taken From |
If someone used the item on a task (Qty Used), this field represents the storage location that it was taken from. The location can be changed by clicking the field and selecting a different Stock Holder. This storage location was initially set using the 'Assign Stock To:' field. |
Assigning items
Once you've added items, assign items to a task and/or assign inventory to a user or storage location (optional).
Assign New Items To Task
If ordering stock for scheduled tasks, you can allocate item costs to each task by clicking the Assign New Items To Task  (magnifier) and selecting from the list.
Add each item using one of the methods above and assign to a task before clicking Save.
If assigning existing items to scheduled tasks, see Moving Purchase Order Items.
Assign Stock To
When adding items to an order, you can assign the stock to a user or storage location.
Add each item using one of the methods above and assign to a user or storage location, before clicking Save.
You can also change the storage location after saving by clicking the location set under the 'Taken From' column. Select a new storage location and Save.
Users who have been set to not show as a storage location will not appear in the list.
Remember User
The Assign Stock To: field defaults to ‘Stock’. The Remember User checkbox allows you to save a selected user or storage location as the new default.
A 'remembered user' is based on cookies, so it will only apply to the current device and browser used at the time.
Place your order
There are two ways to send your purchase order to a supplier:
Via Supplier Connect
If you've created your order using an online supplier catalogue, and you have Supplier Connect set up, you can place your order using Supplier Connect.
Once sent, save the purchase order as In Progress, or whatever you generally use for your workflow.
What to do next
Once you've received stock or an invoice from the supplier, the next step is to reconcile your order or just create a bill.
